Brief Description: Installing the Elevator Trim Tab
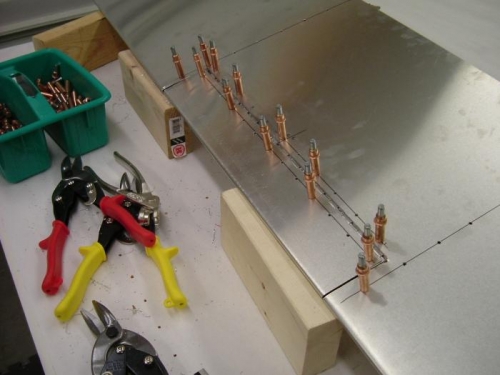
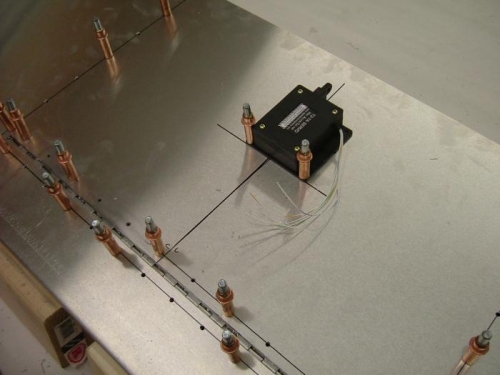
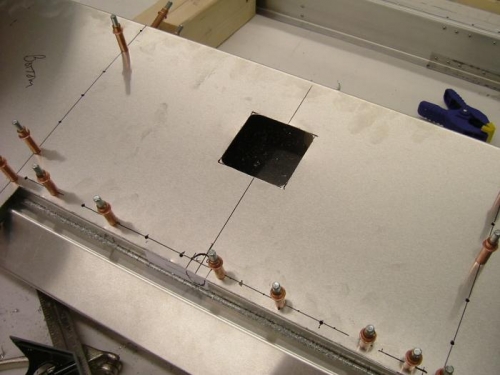
This afternoon I continued where I left off yesterday by installing the trim tab into the cutout and drilling and clecoing it to the panio hinge. Then I measured up 140 mm from the center of the hinge on the trim tab centerline to locate the back of the servo. Once I had the servo squarred with the actuator centered, I reversed the servo (since it would be mounted on the underside of the elevator's top skin) and marked and drilled two holes on the 140mm line. Next, I flipped the elevators over and marked and cutout the servo access hole in the bottom of the elevator. I then marked the hole for the actuator rod on the center channel and skin. I removed the center channel and cut the hole for the linkage using the dremel tool (cutoff wheel for the straight cuts and drum sander for the curves). While I had the center channel out I cut the matching hole in the elevator skin and when I reinstalled the center channel, I used the dremel to clean up the holes.