Brief Description: Shock strut cleaning and assembly
Cleaned the piston rod with lacquer thinner using a straighted coat hanger and pieces of an old handkerchief to clean the "bore". Used a damp towel to clean out the "cylinder". After drying gave each cylinder a quick shot of LPS2 lubricant.
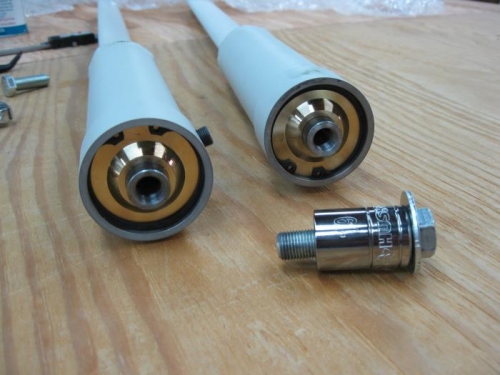
For the assembly used a 19mm socket and 2.25" 1/2-20 bolt and washer to compresse the shock spring to allow inserting the snap ring. On the first one I did not get the spring compressed quite enough but couldn't figure out how to get the assembly back out. I tried to compress it more, but I think the piston was turning. So I ended up lubricating the threads and that reduced the friction enough that I could tighted it enough to get the snap ring in. Amanda was my helper, holder, wrencher to do this. On the second one I measured to make sure it was compressed enough before inserting the assembly into the strut. That assembly went more quickly. I still need to figure out how to disassemble the strut because the o-rings will probably need to be checked before the airplane flies the first time.
I also need to figure out if I need to remove the lubricant from the threads before installing the rod end bearings with thread sealant.