Brief Description: Continuation of the torque tube fitting
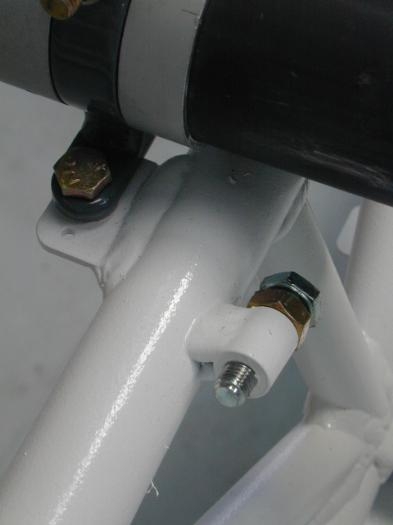
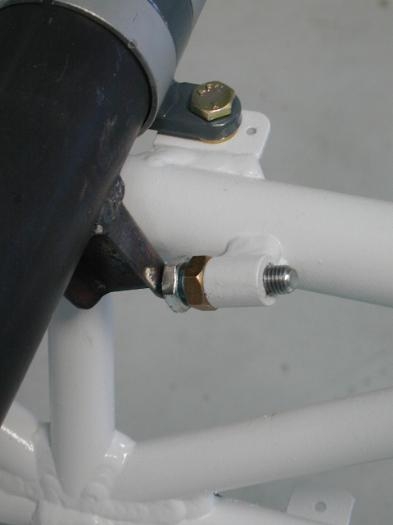
Once the pillow block are bolted in place the aileron stops are threaded into weldments. The weldments are tapped for the bolt. The bolt has a locking nut. Image 1 shows the bolt and lock nut. Photo 2 shows the "arm" on the torque tube rotated into contact with the limit stop.
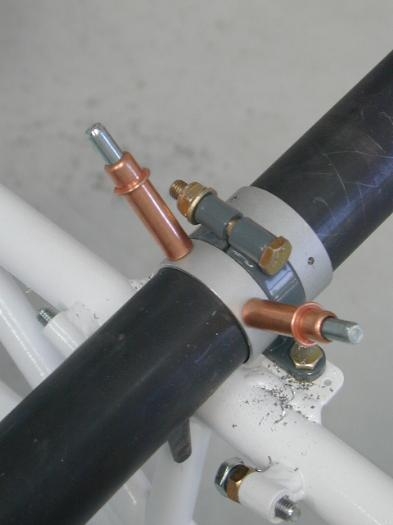
Next two locking collars are placed on either side of the front pillow block. The collars each will receive 4 rivets. Those will not be installed until final assembly. Image 3 shows the rear collar cleco's in place. There are 4 rivets on each collar. The bottom two will have to be drilled and eventually installed outside of the fuselage for access.
Once the entire assembly was in place I checked the friction on the torque tube. It seemed to be more than I would want. I removed the entire assembly and began to work on reducing the friction. I did further work on the pillow blocks with emory clothe, then polished the bearing surface with a dremel tool, a pad and compound. I will do the same to the torque tube after it is painted.