Brief Description: Page 325 Installing the Center Console Assembly
August 25 2013
Section 33 Installing the Center Console Assembly Manual Ref: 12.1 to 13.3
Shoring up the Console
Before I can wire up the Viking Wire Buss so I can start the engine, I need to install the Panel Dash, but before I can install the Dash, I need to install the Console.
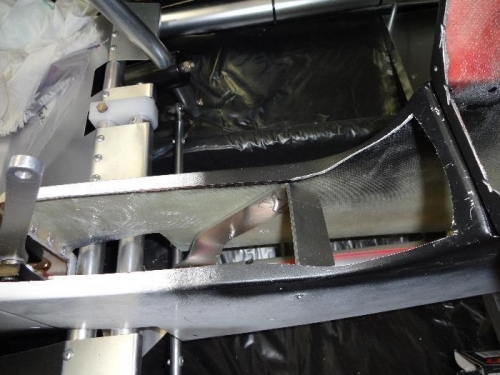
I wanted to shore up the Console with aluminum braces so anyone getting in the plane that might put some weight on the Console, won't crack the fiberglass.
I had made some brackets early in the build, but only installed the rear one and did not finish till now.
Except for the rear bracket, I used holes already in the center cockpit tube for the three brackets. And then drilled the very front hole through the fiberglass and center tube without a bracket.
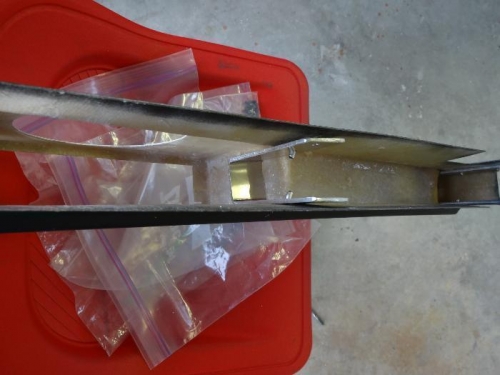
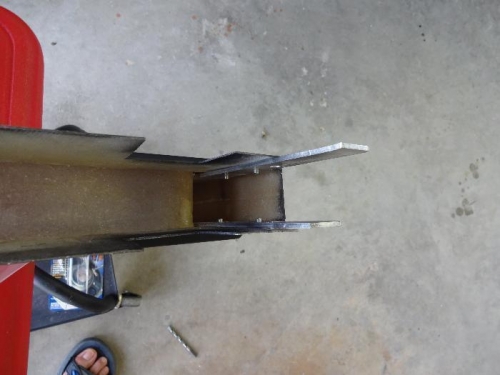
The best way to install the brackets on the fiberglass is to make the brackets to fit inside the console and then drill the bottom holes that attach to the center cockpit tube and put the bolts in and slide the console over the brackets and drill the holes in the sides of the console into the brackets. Pull the console back out and install the rivets and drill the holes in the fiberglass that the bolts go through at the bottom.
Front bracket tilted to clear the E-Flap controller