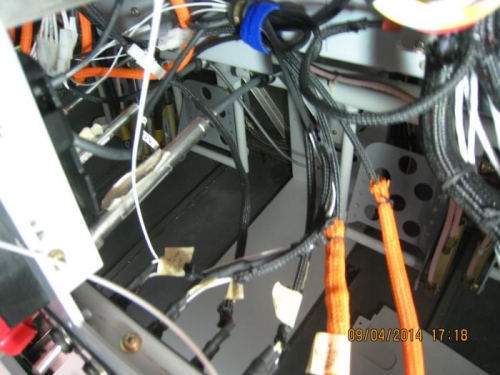
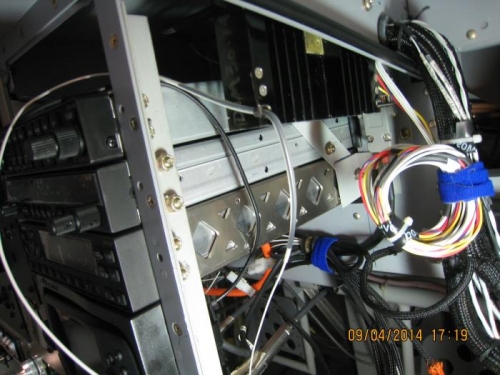
Cut the 12V wire lead to the EIS switch and install slide on wiring connectors incorporating the third wire for the Compass. One side of the wiring connector crimped with 2 wires, the other side has one wire. This way the switch will control both the EIS unit and the Magnetic Compass. The crimp on wiring connectors gave me an easy way to incorporate the 12V lead for the Magnetic Compass and maintain the original wire length. Because of the extremely tight space it took me 3 hours to make the connection and test it.