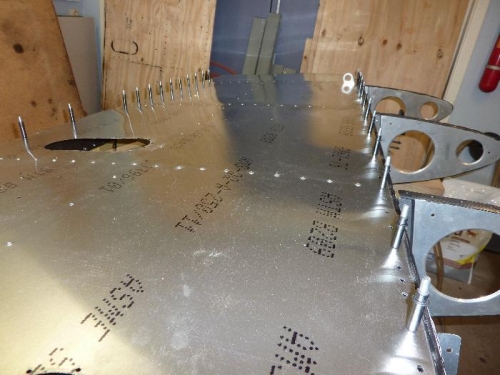
Sanded primer on lower skin and attach it with some clecos. Adjust height with wooden blocks to get everything in level. I start from middle and after deburring put in clecos in all holes. Important to look after bubbles on skin. Temporary put in clecos on fueltank panel, will help to keep the skin free from bubbles. Adjust the lower long angle, and cleco´d it right place. Even the short angles for bellcrank support needed small adjustment to fit. Start rivet center spar no 4 and 5, remove one cleco and put in one rivet. Take some time but result was good. Continue with rib after rib, and all longitudinal angles between them.
All rivets installed, with exeption of those at leading edge, flap hingle and fueltank panel. Next will be, turn around and start with top side.