
|

|
|
|
STUART'S WEB SITE
|
Date: 1-1-2014
|
Number of Hours: 6.00
|
Manual Reference:
|
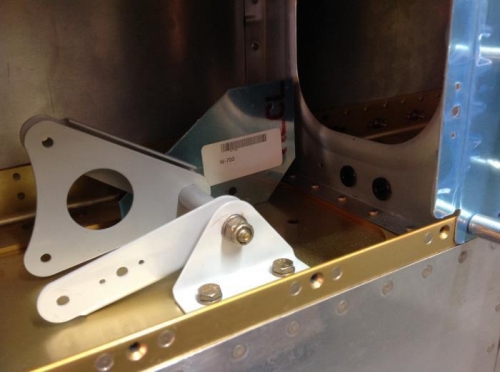
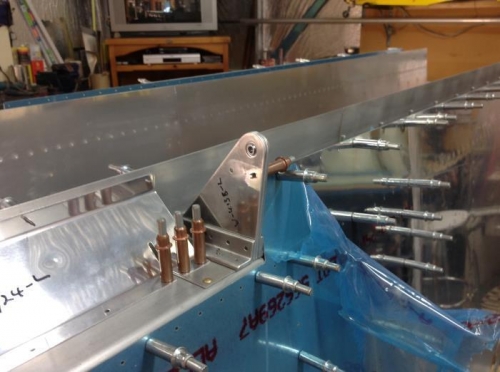
Brief Description: Prepared and assembled left aileron bellcrank
|
|
Bellcrank assembly was not a problem, fitting the bush however was a slower process. From
what I could read of other builders, the problems encounted was the fit of the bolt in through the bellcrank bush. I had no problems here,I simply debured the inner edges of the bush, and the bolt just slid in nicely.However the bush through the bellcrank was a little more chalenging. I was reluctant to run any drills or files down the sleeve of the bellcrank, so I decided to place the bush in the drill press and spin it up, Using #320 grit sandpaper, I reduced the bush diameter enough to get a thumb presure fit.I then packed the sleeve with a high temp grease, and with the bush in the drill press again,I was able to work the bellcrank up and down to get a a smooth rotational fit, as to avoid any binding when fitted to the angular brackets. also managed to assemble and match drill the aileron hinges, along with the flap brace , and aileron fairing.
|
|
|
|

|
|
|
|
|
|
|
|
|
|
|
Copyright © 2001-2024 Matronics. All Rights Reserved.
|