Brief Description: Polished and installed the canopy rails
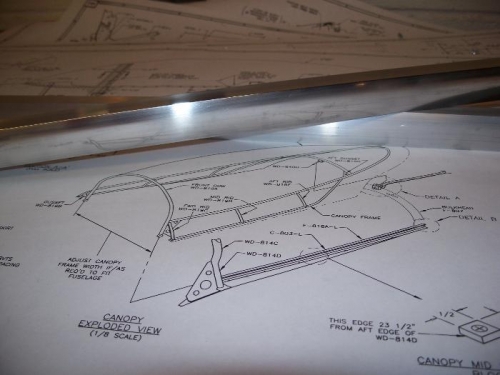
Tonight I finished polishing and installing the canopy rails. I am finding that polishing aluminum requires some technique to get it even looking. It polishes up quite nicely, however. The canopy rails look good polished. Next, I installed them to the fuselage with screws and nuts. I then installed the UHMW (Ultra High Molecular Weight) plastic block that holds the aft part of the canopy frame. It installs with two screws into the aft cockpit bulkhead. Finally, I started preparing the plexiglass canopy for its cutting and fitting process by marking a center line down the middle of the canopy. I also did a test cut of a scrap corner with my die grinder (Whiz Wheel) and an abrasive wheel. I can tell that it is going to be a messy and loud process. The whiz wheel kicks up a cloud of tidy plexi particles that get everywhere. I will definitely need some respiratory protection (a mask).
The top rail is polished, to show the contrast with the bottom unpolished rail
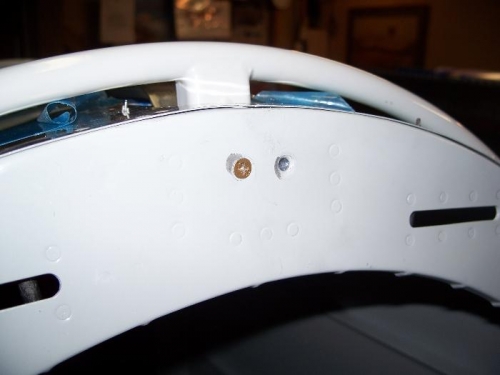
Screws into the aft cockpit bulkhead to hold the UHMW block that holds the back of the canopy frame
Looking fwd. at the UHMW block where the canopy frame fits into it