Brief Description: Fwd and rear skin assy installation
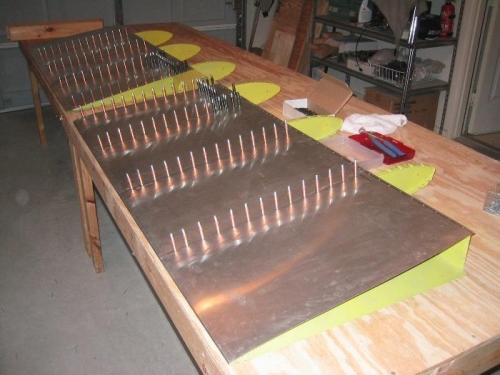
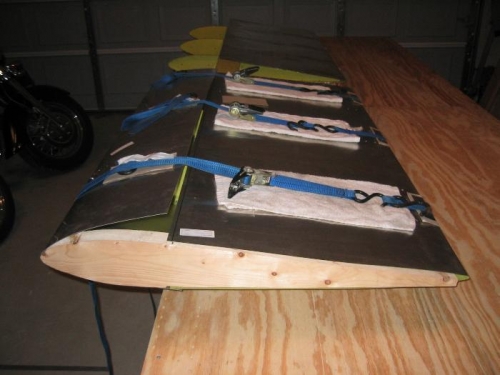
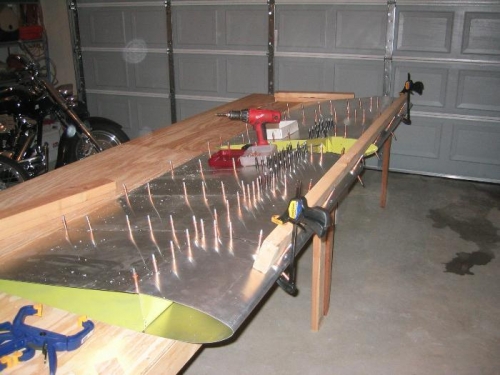
The skin installation went just like that of the rudder skins. I installed the rear skins first so I could ensure the entire assembly was perfectly (or as nesar as I could get it, which is pretty darned close if you ask me!) straight. I worked from inside to outside, rear to front oin each side, top then bottom. Once this was done, I pulled the foreward skins into place and riveted them from front to rear. In the third pic you can see that I used a STRAIGHT 2X4 to make sure the leading edge of each side was aligned straight and in plane with each other. It worked pretty well. They were close, but needed a little tweaking to get them just right. Don't want to do uncomanded corkscrews on the first test flight do we?