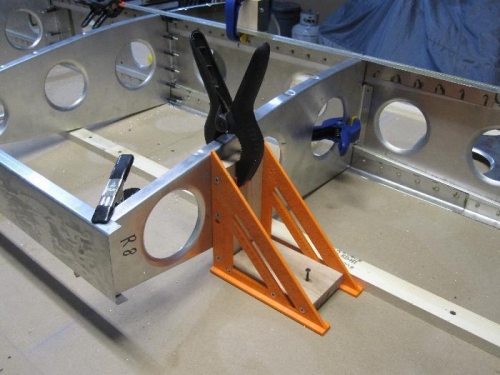
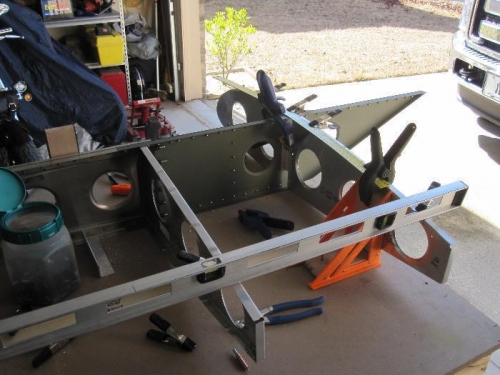
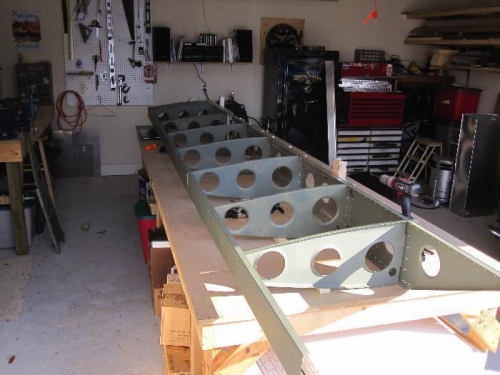
One thing I noted too late is that even though the plans say the ribs are the same top and bottom, the kinda aren't. The top and bottom edges are the same, but the lightning holes are nearer one side than the other. If you look at the aileron bellcrank placement drawings you'll see what i mean. I ended up installing mine upside down, but Zenair said it woun't hurt anything. The bellcrank cables still have plenty of room to operaste. The rear ribs were pretty easy to place. I used the rear channel to help hold them in place. In the picture you can see where I used clamps and the angle blocks to keep everything lined up during drilling. For the outer ribs, I used a 3 foot level and worked it out one rib at a time. The plans called for drilling the wiring holes in the tops of the ribs near the spar. Since the bellcrank goes toward the top of the rib, I elected to drill my wiring holes towards the bottom. See next log for the cutting and polacement of Rib #10. I went ahead and cleaned everything up, painted and riveted everything together at this time. OH, I also attached the outer rear channel at this time.