
|

|
|
|
Steves S-20 Build Site.
|
Date: 11-30-2015
|
Number of Hours: 15.00
|
Manual Reference:
|
Brief Description: Tapes and patches on the elevators.
|
|
Added rib stitching, patches, and tapes to the elevators.
* This stuff is very slow going for me. I feel like it has been forever since I made my last post here, but it seems less than exciting to post that "I added a tape this evening". A part of it is my attempts to make everything as perfect as possible. I have been gluing the tapes in two steps, first on the top which lets me get a nice straight line, and then on the bottom after the top dries. This is probably overkill, and takes a long time, but it looks nice.
* I used a number 17 bent tapestry needle for the rib stitching. It is not ice pick sharp, so you can push it into the bottom of the covering and see where it is, then poke it through when you get it where you want it. I got mine in a kit from amazon - Clover brand #3145.
* The rib stitch over the trim servo is tricky since it does not go though the bottom. I used a a piece of safety wire to fish it through. It took a few moments of patience to bend it such that it came through at the right point.
* I used the majority of the rib stitching thread on the elevator, and was not going to have enough for the rudder. I checked aircraft spruce and they only sell a large spool for something near 40.00. I tried to order from RANS, but they told me 5 feet only cost 75 cents, and they have a 10.00 minimum, so i ordered a couple of extra access panel rings and covers I am expecting to need for the dynon stuff in the wing.
* I have always thought the square patches over the stitches look awkward, so I used 2-3/4 inch round patches.
|
|
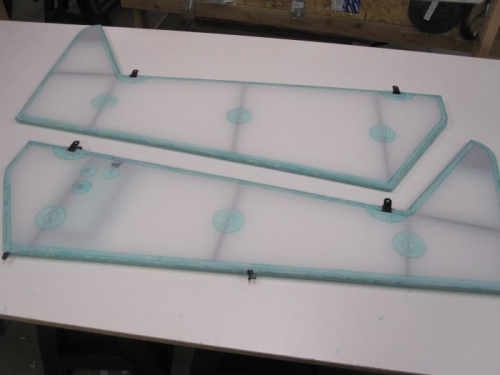
Finished elevators! - Finally!
|
|
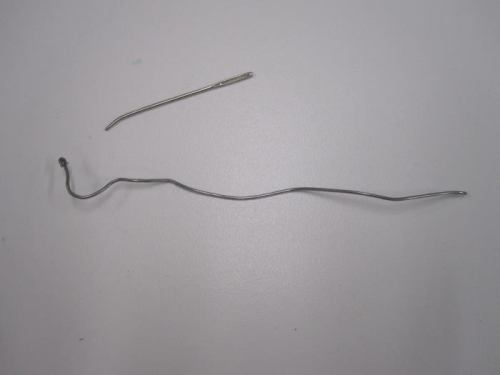
Rib stitching tools.
|
|
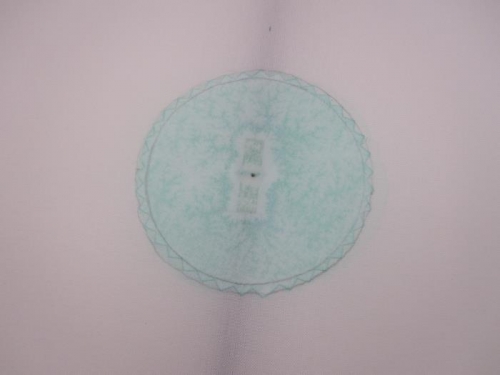
Round patch over stitch.
|
|
|
|
|
|
|
|
|
Copyright © 2001-2024 Matronics. All Rights Reserved.
|