
|

|
|
|
Steves S-20 Build Site.
|
Date: 4-24-2016
|
Number of Hours: 10.00
|
Manual Reference:
|
Brief Description: Covered RH side of fuselage.
|
|
Covering the remaining side of the fuselage was pretty straight forward after doing it once before.
* I am wanting the seam along the top former look as straight as possible on the finished airplane. To achieve this I marked the edge where the fabric will be cut, and also the edge where the 4" tape will lie. I didn't come with a real slick way to mark these lines due to the change in angles of the fabric as you travel along the length of the former. I started by using a compass to mark the centerline on the top former tube. Then, starting at the baggage area, I used a 2" wide plastic ruler to mark the edge of the tape location. This worked well near the front since the fabric is relatively flat, but at about 3/4 of the way towards the fin my ruler would not lay flat and I was not getting nice lines, so I resorted to using an index card with 2" markings. I laid the card on the fabric, lining my mark up with the centerline I had made, and then drew a line along the end of the card to mark the 2" edge for the tape, and then repeated for each 3" along the length of the top former to the radius at the bottom of the fin.
After marking the fin itself for the 2" tape I spent some time working out how to transition from the 4" tape to the 2" tape before coming up with what I think will be a pretty simple layout.
I followed the same procedure to install the fabric to this side as the last side - Get it roughly positioned and cut for the wing strut mount, tail brace wire mount, and rudder stop before gluing to the bottom longeron. Then use lots of clamps and start trimming near the top former, but leaving a little extra, and trim closer and closer while working the fit of the fabric. I glued the top former and front of the fin first, leaving the radius area for last. I ended up making two dart cuts in the radius area, but in hindsight I think I could have gotten away with only one.
I still need to do some cleanup and trim this sides for the baggage windows before progressing to patches and tapes.
|
|
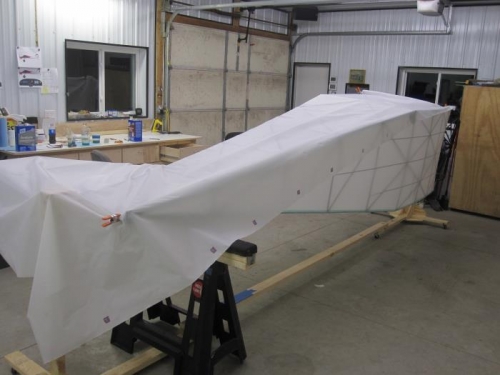
Getting the fabric positioned.
|
|

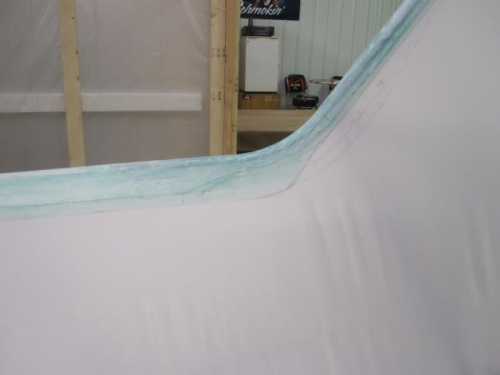
Working the radius area.
|
|
Sketches to figure out the trasition from 4" to 2" tapes, and the resulting fabric trim.
|
|
|
|
|
|
|
|
|
Copyright © 2001-2024 Matronics. All Rights Reserved.
|