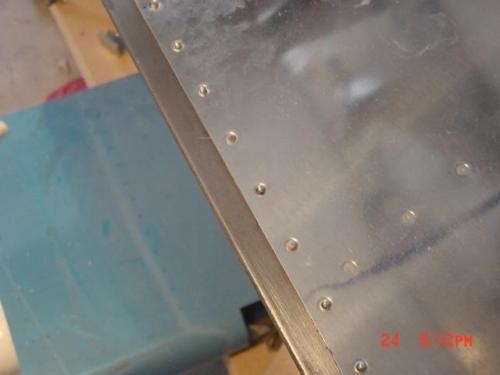
I removed the clecos and angle aluminum from the trailing edge of the rudder. Placed the recommended flush rivets with the factory head on the left skin, used scotch rivet tape to hold them in place and laid the rudder trailing edge on the angle iron on the edge of the workbench. I then started from the middle, back-riveting every tenth rivet about half way. I then did the same for every fifth rivet and so on until all rivets were set about halfway on the shop-head side.
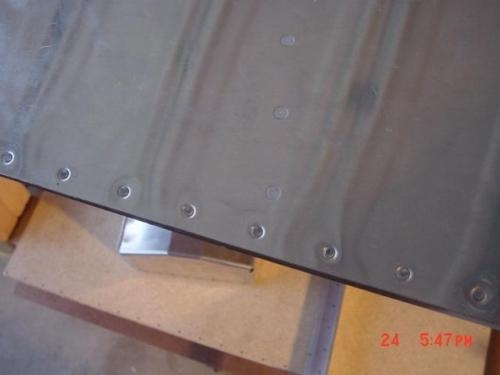
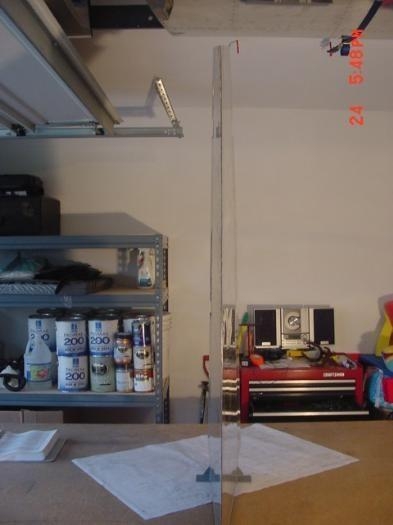
I flipped the rudder over and used the mushroom set on the factory head side and the shop head side on the angle iron. I riveted in the same pattern as I had done on the opposite side, final setting all of the rivets. I did not detect any bowing of the trailing edge while double-flush riveting and the final edge came out straight. I was quite pleased as I have heard so many horror stories of rudders bowing up badly during this stage. I removed the rivet tape and used acetone to clean off any excess tank sealant.
A couple more aft skin to rib rivets, forming the leading edge, and the tips and the rudder will be complete!