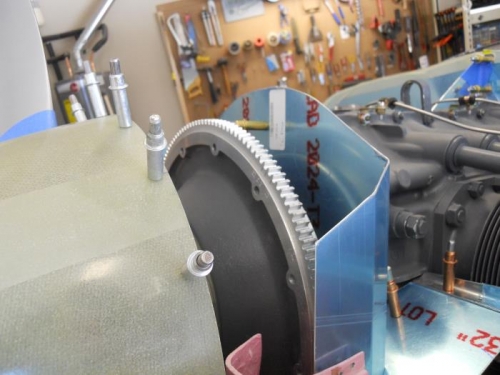
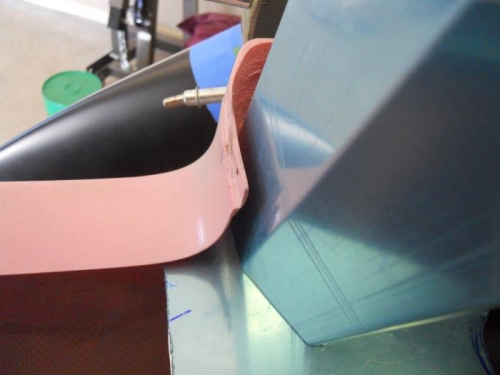
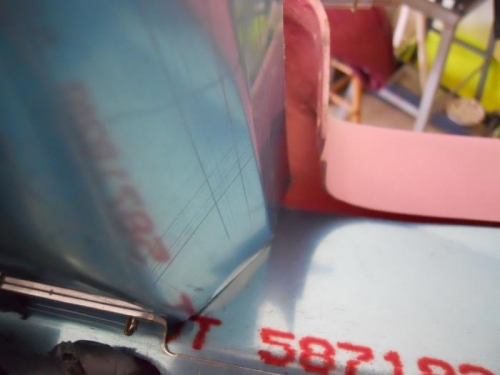
I installed the lower cowl, then began the trim dance with the front baffles. What a party that was! I set the top cowl in place, reached inside the inlet ducts to and marked a line on the baffles about an inch from the cowl. Removed the top cowl and the baffles, then cut to the line. Reinstalled the baffles, reinstalled the cowl. Reached inside and felt for contact points. Removed the top cowl, marked the high points, removed the baffles and trimmed again. Well, this went on for about 4 hours until I could get the top cowl to fit down on the lower cowl. There is a small space all around the baffles—I’ll use paper clips to get the final trim done. I want to make the clips that attach the baffles to the ramps, before final trimming. I’m not sure how much clearance is needed on between the forward part of the baffles and the edge of the cowl—has to be some since nut plates will be riveted in the area between the cowl and baffle.