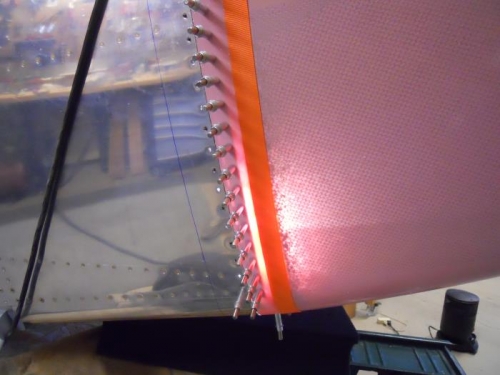
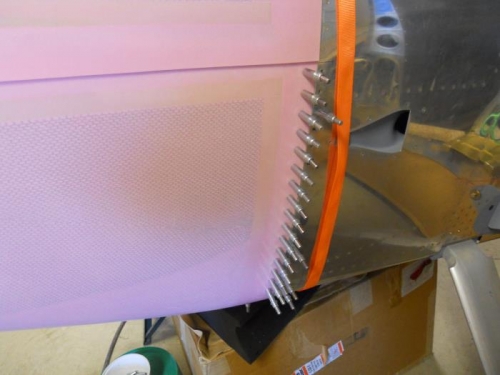
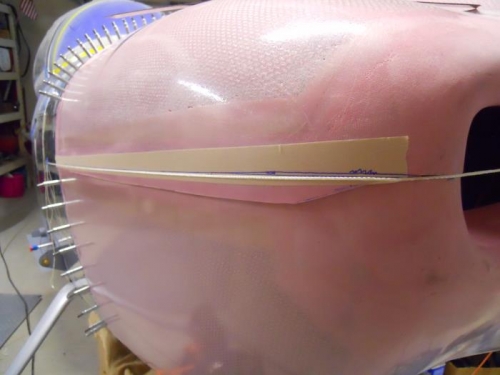
I laid out holes in the vertical hinge pieces for the cowl side and drilled them to 1/16”, then installed the hinges and lower cowl. I marked some areas that still fit to tight, removed the cowl and sanded some more. Did this several more times until it fit with a small gap—not enough for a paint gap, but at least not binding. I removed the cowl and placed a drop light in the hinge area on each side and re-installed the cowl. I drilled the hinge holes thru the cowl with a 1/16” bit with the aid of the lights on the inside. Then, I drilled them up to #40. Removed the cowl and deburred the just drilled holes. I re-installed the cowl without the strap and was able to cleco the lower cowl to the vertical hinges and the lower hinges—solid as a rock. Next, I pulled a string from the front split in the cowling down the side to a line I had drawn down a rivet line on the side of the fuse—then marked the line on the cowling. I need to fiddle with this some more before I remove the cowl and start cuttings.