
|

|
|
|
Steve & Nancy Riffe
|
Date: 12-16-2015
|
Number of Hours: 4.00
|
Manual Reference:
|
Brief Description: R. tip rib installation
|
|
More work on right wing tip—I clecoed the tip to the wing and measured for clearance with the aileron. The plans call for a ¼” clearance, but that seems excessive, so I trimmed for 3/16” gap. Looks good—I can always open it up some more if need be. I started in on the rib that goes in the aft portion of the tip to keep the fiberglass from flexing. Since I am using the hinge method to attach the tips, the supplied rib is too long. I inserted the rib and marked on the top and bottom where the rib would intersect the hinge pieces. Instead of cutting the rib for a perpendicular flange, I angled the end between the ends of the hinge pieces. I made a poster board template to approximate where I would need to bend the rib, then cut off a portion. After much measuring and head scratching, I drew a bend line on rib, clamped it to a piece of wood and clamped it in my vice. I used another block of wood to hammer the flange to a 90 degree bend. Trimmed it all up and put some relief cuts in the corners. Next, I laid out and drilled holes in the fiberglass tip to attach to the rib. Clamped the rib into position and match drilled thru the fiberglass into the rib. I discovered on one end, that I would not be able to squeeze or buck the last rivet, so I moved over and drilled a new hole in the glass and rib. I’ll just glass over the errant hole.
|
|
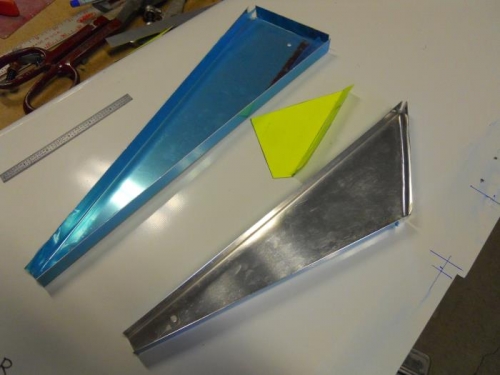
Cut and rebent rib
|
|
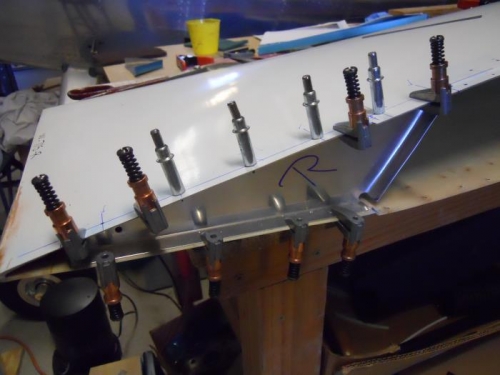
Match drilling tip to rib
|
|
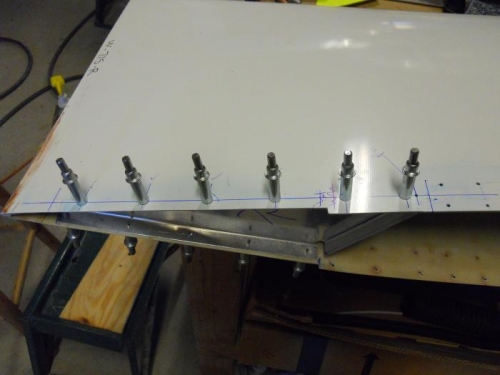
Done!
|
|
|
|
|
|
|
|
|
Copyright © 2001-2025 Matronics. All Rights Reserved.
|