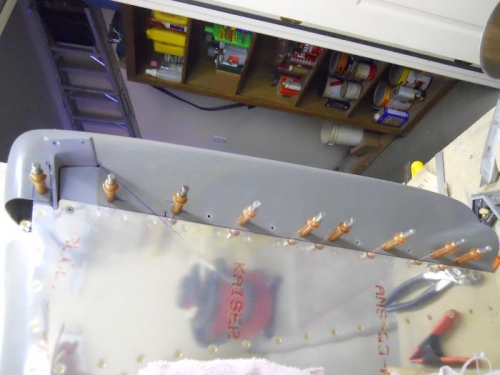
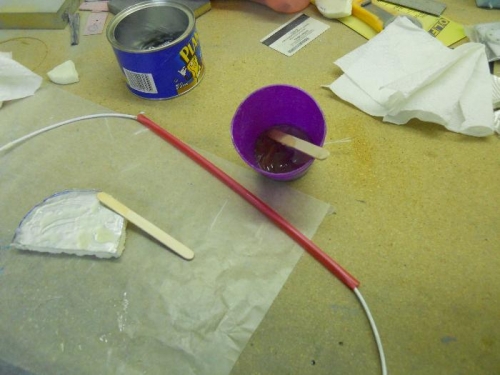
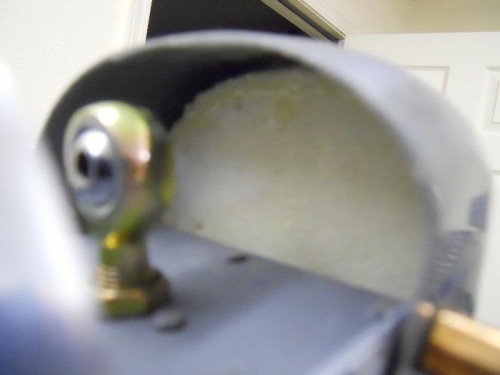
Last session I laid out the holes in the cap for rivet attachments. Tonight I drilled the marked holes to #40, then installed the cap and taped it into position. Match drilled the cap to the attachment strip with a #40 bit, then drilled the holes up to #30. I plan to use a medium size drinking straw as a conduit inside the cap for the tail light wire/strobe. I cut a strip of glass to cover the straw and mixed up some epoxy to wet the glass which will cover the conduit. Hmmm, glass is not laying down over the straw like I wanted. I messed with this for some time, but it just wouldn’t lay down- I was going to add some more resin, but by now the resin in the cup was starting to gel—not good. So, I removed the glass and the straw and cleaned up the resin inside the cap with MEK. I’ll try a different approach tomorrow. Next, I cut a piece of foam to use as a form in order to add some fiberglass in the nose of the cap to keep air from entering the cap. I mixed up some T88 epoxy and glued the foam inside the cap at the nose. I clecoed the cap to the rudder, so that the foam would not distort the shape of the cap while the epoxy dried.