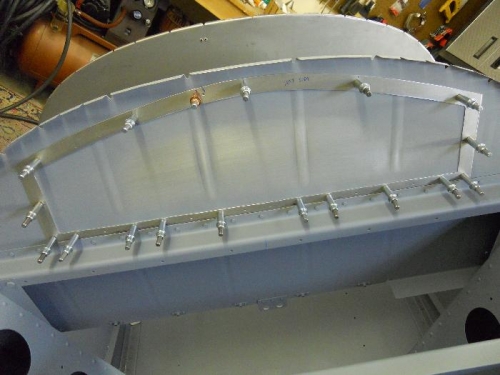
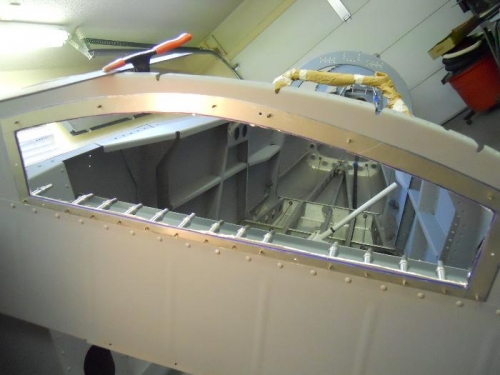
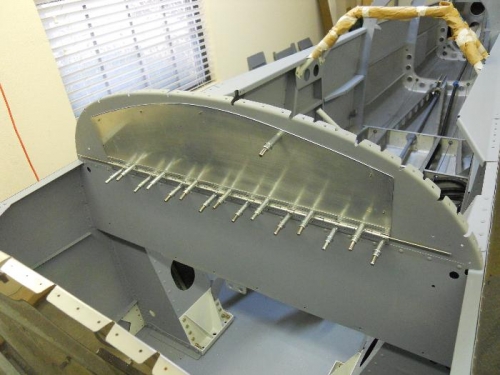
Got an early start today. Removed the hinges and clecoed the doubler to the front side of the bulkhead. Using a large sharpie, I drew a “cut” line on the bulkhead using the doubler as a guide. Used the dremel to cut out the bulkhead. I cut just outside the wide line made with the sharpie. I left the doubler clecoed in place and filed the bulkhead until it was even with the doubler. Removed the doubler and finished up with a small scotchbrite wheel. Removed the doubler, deburred everything, marked and drilled 7 holes where nutplates will be installed. Clecoed the door, spacer strip, hinges and doubler to the bulkhead. Match drilled the 7 holes thru the doubler, bulkhead and door to #41. Then I drilled them up to #30, and finally to #19. Removed and deburred everything once again. Used my nutplate jig to drill holes in the doubler for the nutplate attachements. Used debur tool to countersink for NAS rivets to attach the nutplates. Laid out and drilled holes for the rivets to attach the doubler to the bulkhead. Clecoed doubler to bulkhead and match drilled #41.