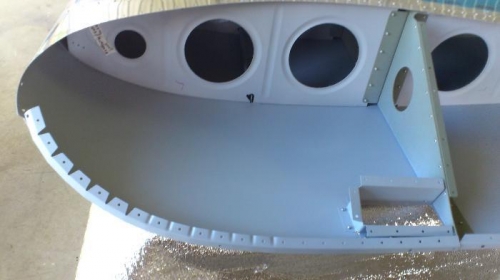
Installed hinge ribs and brackets. This is tricky. Accessing the rivets in the top corner is particularly tight but can be achieved using the close quarter riveter and the wedge tool. Take care about which way you orient the rivets to avoid interference - some have to be installed from the other side. Installing the hinge bracket is not too hard but at first it seems it will not fit. Have a practice run fitting it into the slot in the lower skin, before you attach the hinge rib. You will see that the bracket has to be rotated towards you to clear the spar flange before the entire bracket can come through the slot. It's easier to see if you try it before installing the hinge rib. See pics in previous post (Can only post 3 pics per entry!)
Installed wing tip. The wing tips are an interesting process. It is amazing how those tabs bend to conform to the curve of the upper tip skin. However, I am a bit dismayed by the finish - there are several unsightly gaps. They are mostly on the underside, though there are some around the hand hold.
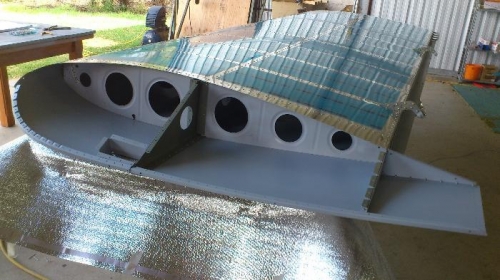
Wings complete! Wow! That went so quickly. You really do need 2 people for the wings. I've managed alone for the empennage and tail cone, but the wing spars are too heavy for me to lift onto the bench by myself. Once the lower skins are attached the whole assembly has to be flipped over, taking care not to damage the top section of the skins which are flapping unsecured. This takes a bit of strength. Once you've done that, it all goes together very fast. Great fun!
wing tip top skin, rib and hand hold viewed lower skin uppermost