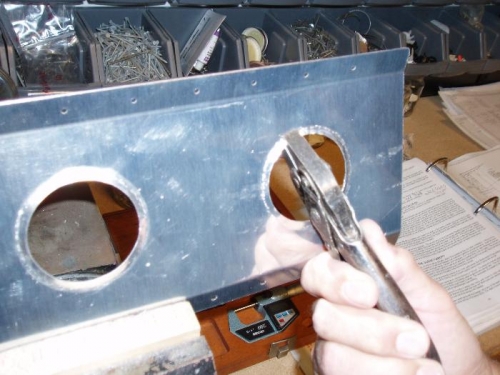
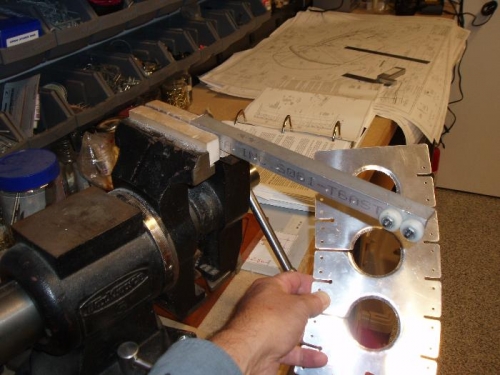
These 3 parts are a bit much to deburr the edges. Lots of slots and holes. The big holes get a 20 degree bend on the inside of the hole which stiffens the brace. I used some small pliers to get the initial bend going. Then I used my edge bender to smooth the bend. Lots of folks take the white wheels off the edge bender from Avery Tools and re-attach them to a piece of angle. The trick to using this is clamp it in a vice so you can put both hands on the part. My bends or dimples came out okay.
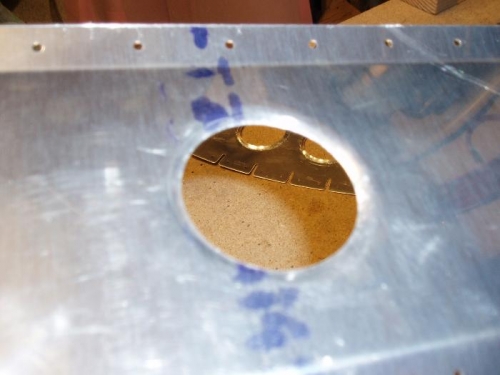
WARNING: I made them out the wrong way. Pay attention to the center brace. It has #40 holes on one side and #30 holes on the other side, already pre-drilled. And the flanges are pre-bent. So the bend in the holes go towards the top skin. I had to redo my bends. I'm glad nothing cracked.