Brief Description: Drilling the Canopy 10: Drill Canopy
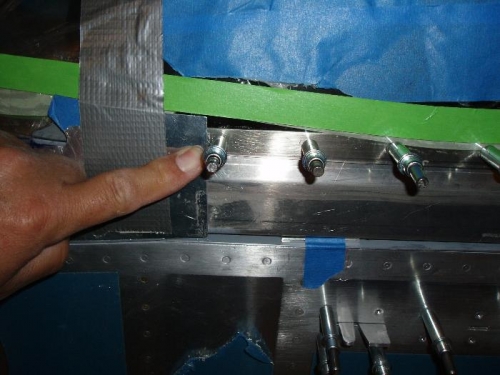
Opps I started on the side rail. Stopped and restarted on the top of the F-631 per plans.
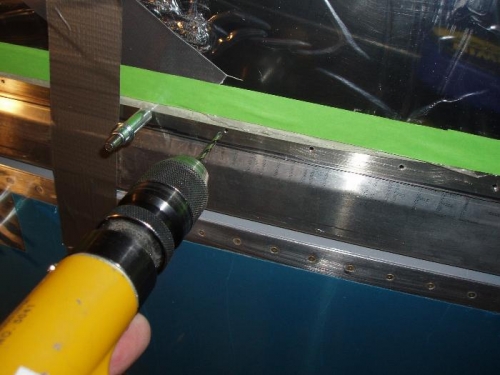
It was easy to see the drill spot thru the canopy, just like the plans said it would be. You can put the drill bit on the plexi glass right above the hole. When you spin it, it doesn't walk. I'm using the tapered drill bits made for Plexi Glass drilling.
I spin fast and use only a little forward pressure. Cuts like warm butter. No cracking
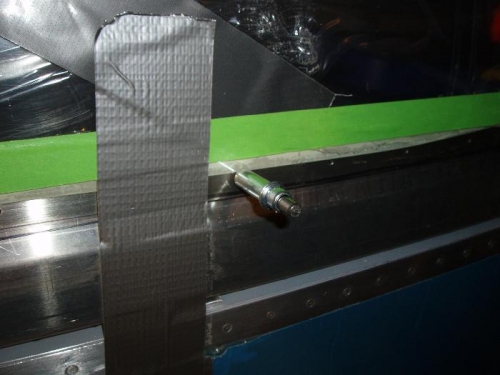
Also after I got it clecoed I could see the forward most hole was close to the canopy and actually required to help hold the rail and canopy together so the flap will lay down nice.
So I drilled this forward hole thru the canopy until the tip marked on the aluminum and then I drilled the aluminum.
The aluminum holes are #40. The canopy is #30. All these holes will be enlarged to their final size later.