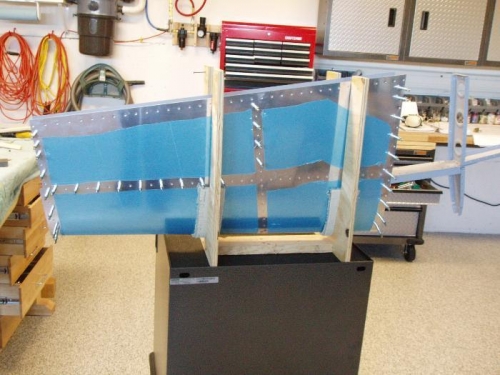
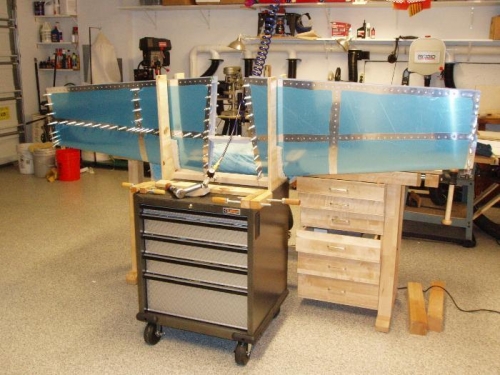
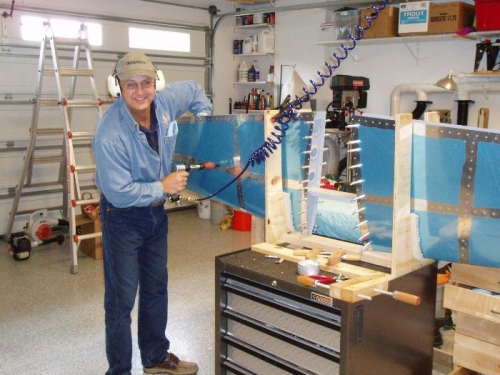
I modified the tool by screwing the two clothes pin type pieces to a base so they would stand up and hold the HS as shown. Then it also worked well to hold the entire HS for riveting both sides. And later I lowered this holding tool to help rivet the rear spar on (see next entry). I developed technique for riveting. I put rivet tape on every rivet head. I put the bucking bar in place and then focused on keeping the flush rivet set pushed against the skin, slowly pulling the trigger to tease a few whacks to make sure the flush rivet was flush and fully inserted, then pulling trigger all the way while adding pressure to the bucking bar to finish the shop head. Early on I put to much pressure on the bucking bar and pushed the flush rivet out a little and it didn't seat well enough. I drilled out about 3 of these. One ended up being an OOPs rivet which is a 3/32 head but with a 1/8 shaft. You can't tell cosmetically and it is full strength structurally. Lesson learned is focus on the flush rivet set being flush on the skin and getting the gun adding pressure before putting too much bar pressure so you don't push the rivet out before it sets. Oh, I also put some duck tape on my bucking bar because it was scratching off my primer coat.