Opened up the airplane factory this afternoon with the intention of finishing off the trailing edge of the rudder, shaping the leading edge (blind rivet) and installing mounting hardware.
Elevators put on hold.
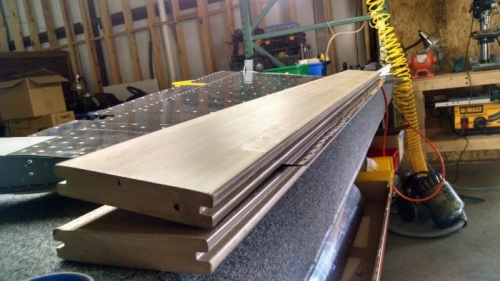
Started off aligning the trailing edge and confirming straight and level. Used a couple of deck boards I had to keep everything straight. Pulled the 3M tape per suggestion and applied to R916 Rudder Trailing Edge. Needed 3 or 4 hands but got the R916 in place with the R901 skins – quickly clamped and cleco’ed the trailing edge in place.
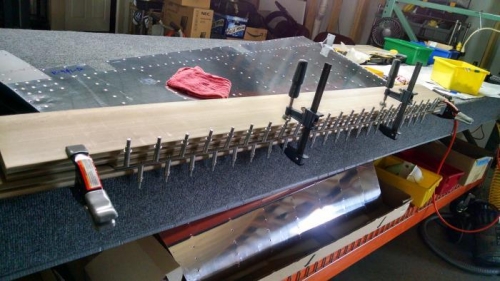
Everything looking straight and level and moved to the soft rivet placement per instructions. Took my time and partially set rivets up and down the trailing edge. Decided to alternate side on the shop head vs the flush head. Used the back rivet set to start and finished with mushroom.
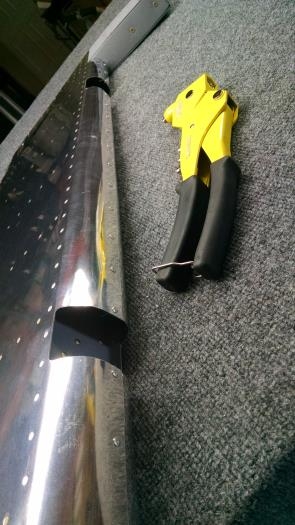
With the trailing edge done, moved to rolling the front section of the R601 – which was kind of a pain. Again, took my time and got the edges to meet and cleco’ed the entire row. Blind rivet per plans.
Next was installing the hardware (rod end bearings) and could not figure out how to get them started. Quick internet search - pvc tool to help with the installation which I made. Wondering how they (VANS) thinks one can measure 59/64” upon installation, but I made a template with the correct measurements from my digital slide scale and used it.
Just to check, I mated the VS to the rudder and all looks great. Will install the AN hardware with the fiberglass – when I put the entire empennage together.