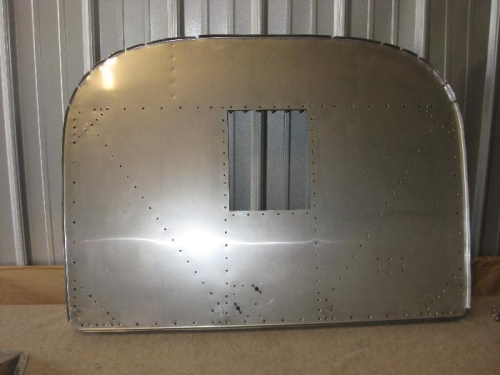
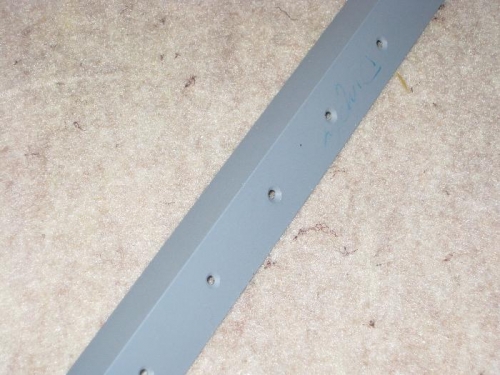
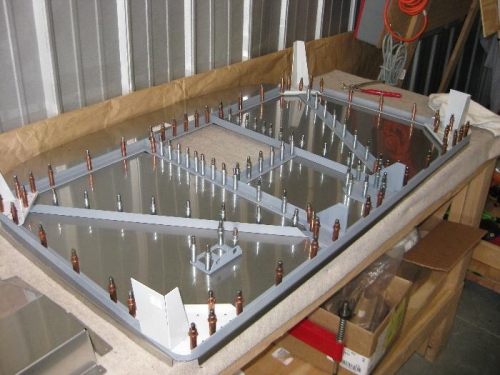
Today I finished dimpling the firewall for the flush rivets on the engine or forward side. Most of them I could reach with the hand squeezer, the rest were finished off with the C dimpler. Next was countersinking all of the stiffiners and associated parts to make room for the dimpled firewall. I used my countersink stop and appropriate bits in my drill press. After getting the counter stop to the correct depth the countersinking went pretty fast. Pick up a part and countersink the appropriate holes, put down part. Repeat. I did take the time to "dry" fit a rivet in each countersink to double check the fit. I did find a few that were not quite deep enough so I fixed those. After finishing the countersinking I went back and re-clecoed everything together to check the fit and finish. It takes a littel extra time to cleco it together just for another check, but I have learned it is worth the time. Next was deburring, sanding and cleaning for a quick prime job. I am not going to prime everything inside the aircraft, but these parts will be close to our feet so a little extra protection. Added note later. After priming the parts I took them back to the hanger and fitted them to the firewall. Everything seems to fit okay. I am waiting for the firewall sealant (CS-1900) to arrive and then I will rivet this together. I can put it aside for now, while I move on to the next step. By the way, my servos arrived from Dynon. I am waiting for the lighting and antenna before starting on the wings.