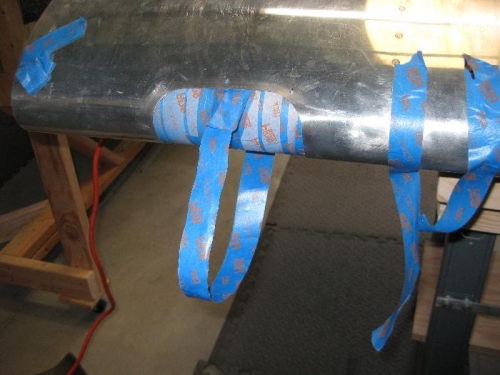
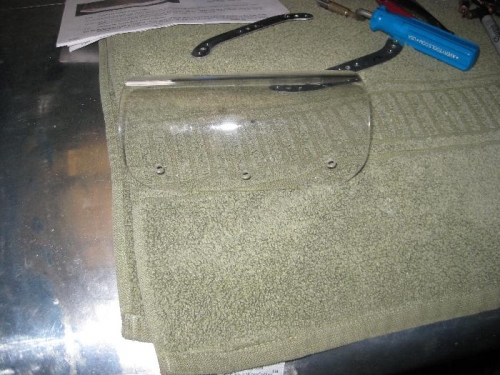
Today I finished one of the landing lights. There were several steps involved in getting the landing light plexiglass lens ready for installation. Initially I had to cut the plexiglass to the correct size. I was worried about the cool temperatures so I placed the lens in front of a space heater to warm it up. After a few minutes I layed the lens on top of the wing and traced the final size I wanted. Using the bandsaw I cut the lens down to about the correct size. Next was drilling the six screw holes. I covered the lens with tape and made a tape "handle" so I could pull the lens tight against the skin. Image one shows the lens with its tape handle ready for drilling. After I drilled the screw holes I pulled it out, got the lens cleaned up and countersunk the holes. There are aluminum keepers on the inside that I needed to rivet and then install on the lens. I failed to take a picture of those, maybe the next lens. After the lens was ready I needed to finish the skin by dimpling the six holes for a counter-sunk screw.
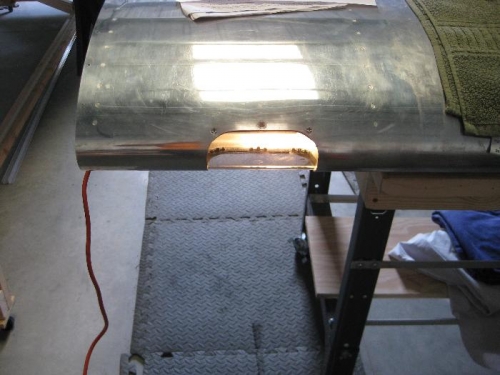
Finally I could install the actual light fixture and 100W light. That is when I found the lens was a little too large to fit. It fit fine when the light was not installed, but with the light there was not enough room to get the lens in place. So I had to sand about 1/8th inch from the lens.