Brief Description: Permanently mating Wings to Fuselage, Part 4
We now reinstalled the wings for good.
I initially installed slip bolts in the two upper large holes and the lower outboard hole. I then replaced each upper slip bolt with a tight-tolerance bolt. I did it that way because the upper holes are easier to get to: Installing the tight-tolerance bolt required lots of pounding with the rubber mallet, then with my mushroom head rivet gun with the pressure up around 50 PSI. I used lithium spray lube on the bolt shafts, careful not to get any on the bolt threads lest it throw off the torque values later. The tight-tolerance bolts really helped line up the bolt holes...
...which made the much-tougher lower bolts relatively easier to drive. I installed the lower inner bolt first, because it butts up against the landing gear weldment. With the flat washers installed on the bolt end, I drove the bolt in far enough to expose 2-3 threads, then installed the nut and tighted it flush. Drive the bolt in a little farther, then tighten the nut down flush. After about 20 minutes for each lower bolt, I had them all on. I'll install the smaller-diameter bolts and torque these all down later.
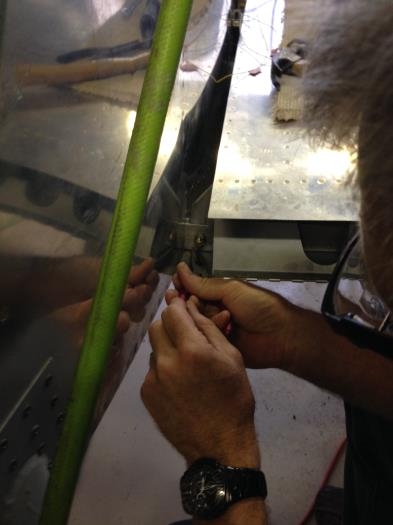
Images 2 and 3 show me installing the AN-4 bolts that mate the aft wing spar mounts to the aft fuselage carry-through. Image 3 shows the cotter pins going on to hold the nuts on.
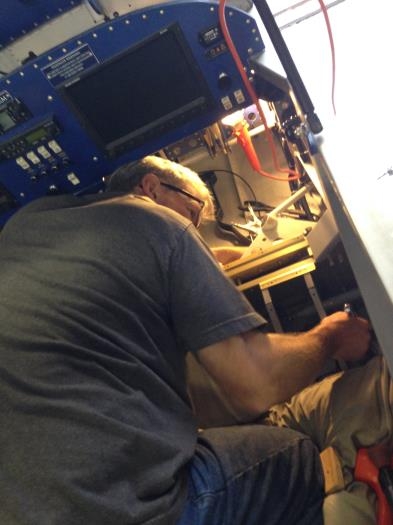
Slip bolts in, seating the first tight-tolerance bolts