Brief Description: Aligning the leg fairings, Part 2
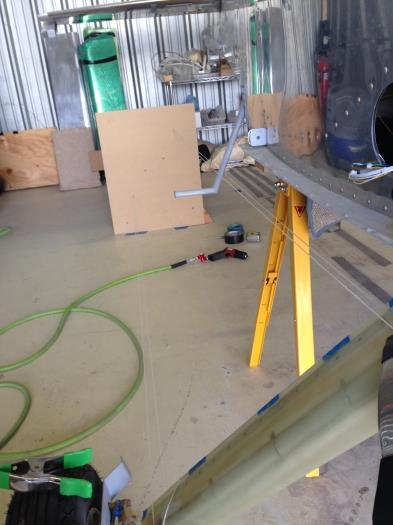
I now ran a long string through the eyelet on the aft plywood "wall" forward to the fairing. I ran the ends across the fairing top and bottom, and wrapped them snugly across the reference mark on the fairing's front edge and clamped it to that line. These strings represent straight lines across the fairing's top and bottom surfaces to that reference point on the plywood wall...a point PRECISELY aft of the fairing reference point.
With strings now run to both the top and bottom reference points, I could now tilt the fairing up or down until both aft trailing edges were precisely centered on the strings, thus PRECISELY aligning the fairing with the relative wind. With several more clamps now holding the fairing in place, I ran the strings again to be sure. Perfect!
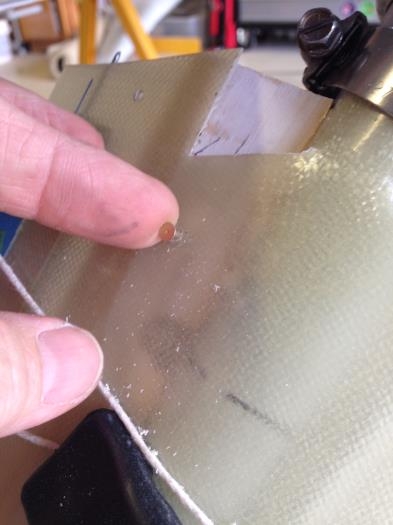
I then ran a #40 drill all the way through the fairing and underlying wood at the very top and bottom of each fairing, This allowed me to run a long #3 rivet into each end, basically locking the fairing into place on the solid wood dampener below, and creating a "lock-in" feature for future removals/reinstalls...I won't have to run alignment strings ever again.