
|

|
|
|
Sid & Houston Mayeux Project
|
Date: 1-24-2014
|
Number of Hours: 3.00
|
Manual Reference: Canopy Latch
|
Brief Description: New canopy latch, part 3
|
|
I used a 4"x9" piece of 0.035" sheet aluminum to craft a template for mounting the latch. Reason: Get it right on the template before ever cutting the side of the aircraft.
I matchdrilled the top row of angle mount rivet holes into the template, then riveted the actual top angle to the template. Then I assembled the latch pieces and bottom angle to the top angle while it was mounted to the template. I then marked the rectangular pass-through holes and cut them with my Dremel (image 2). Test fit, adjust the holes, get them nice and square.
With it all fitting, I then reassembled and mounted the angles and latch pieces to the template, clamped it all down, and match drilled the bottom row of angle mount rivets through the template using the rivet holes I had already drilled in the lower angle mount. Deburr.
With the template now complete, I clecoed it to the airplane side using the top angle mount rivet holes (image 2). I then match drilled the bottom rivet holes into the aircraft side. Now, with the template secure to the aircraft skin, I traced the two rectangular holes for cutting. These holes pretty much married up with the top edge of the old latch's pass-through slots.
As you can see in image 2, this "ate up" the older mount's lower rivet holes, but not all...
|
|
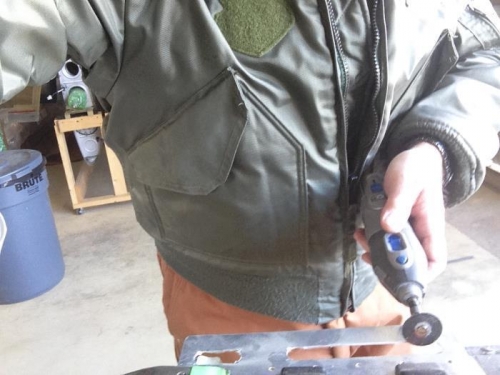
Cutting the side template
|
|
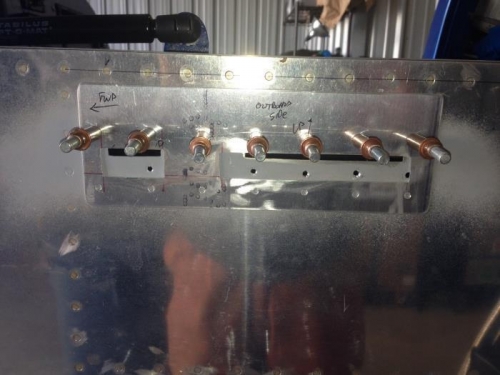
Side template in place, preparing to drill and cut
|
|
|
|
|
|
|
|
|
Copyright © 2001-2024 Matronics. All Rights Reserved.
|