
|

|
|
|
Sid & Houston Mayeux Project
|
Date: 5-28-2012
|
Number of Hours: 3.00
|
Manual Reference: Canopy
|
Brief Description: Sika-Flexing the plexi to the canopy frame...part
|
|
With the Sika primer dry, we then squeezed a THICK bead of Sikaflex adhesive with a caulking gun to all the adjoinment surfaces on the canopy frame.
THIS IS VERY DIFFICULT!! It's thick stuff, and does not squeeze out easily. My forearms got a real workout today.
With the beads applied, Paul and I lifted the canopy and did our best to drop it directly in place on the canopy frame. The best technique was to pick a couple of drill holes on the foreward end of the plexi side, and drop that down to its hole on the canopy side rail. That got us close.
Starting at the back center of the aft canopy frame, we then hustled to place 1/8 inch nylon spacers between the plexi and frame, and reapply the clecos. The 1/8 inch space is VITAL for proper Sikaflex structural bonding with thermal expansion capabilities.
THIS IS MESSY!
Once we got all the clecos in, we then retraced our tracks along the entire inside and outsie lines of the Sika bead and reapplied liberally to ensure there were no air bubbles or receeded beads. I used my thumb and medical tongue depressors to shape the bead.
About 30 minutes later, when the Sika was getting surface-tacky, we pulled the edging tape...what an AWESOME looking blacking edge. In 24 hours, I'll pull the clecos.
|
|
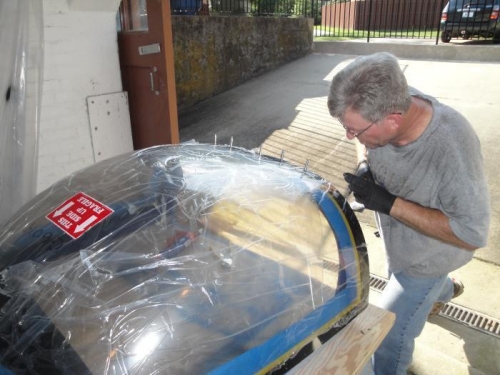
Squeezing in the sika
|
|
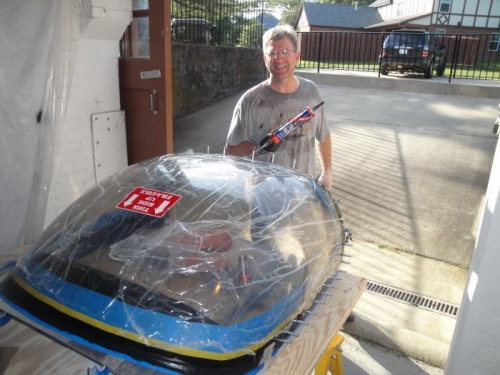
The shirt WAS clean...
|
|
|
|
|
|
|
|
|
Copyright © 2001-2024 Matronics. All Rights Reserved.
|