The bellcranks came together nicely, once all the parts were prepped.
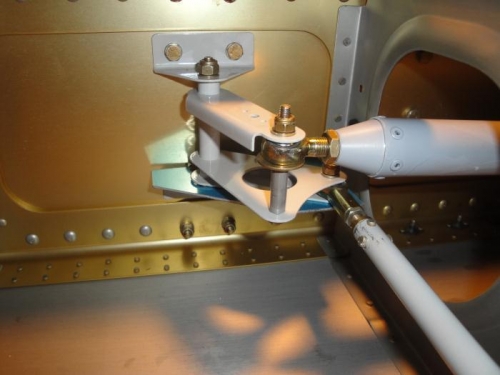
- The bellcrank pivots around an AN-4 bolt that actually first slips into a brass tube bushing. The bushing's outside diameter is proper for the bellcrank tube. However, we had to drill the bushing tube's inside diameter to 3/8 in to accomodate the AN-4 bolt. That took an hour, lot's of WD-40 for lube, and patience. Once completed, the AN-4 bolt fit perfectly.
- Also had to fab some spacer tubes out of aluminum stock tubing (visible in image 3).
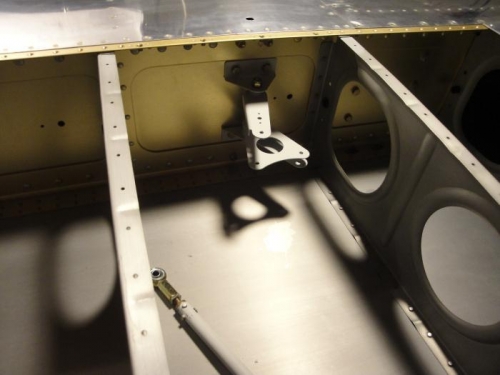
The blue bracket is a temp fitting that locks the bellcrank and tie rods into a null position for aileron alignment. It'll come out once everything is installed and aligned, and that's when we'll tighten all the nuts to their final torque.