
|

|
|
|
Jims Web Site
|
Date: 3-26-2011
|
Number of Hours: 2.50
|
Manual Reference: 6ZU3
|
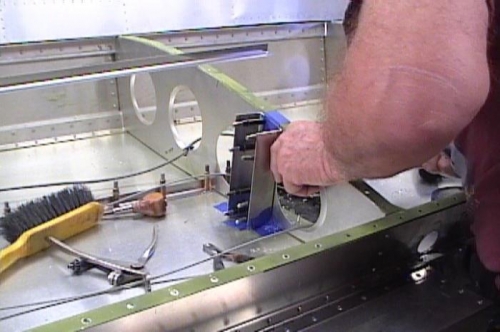
Brief Description: Reinforce bellcrank
|
|
1. Removed esixting bellcrank support channel 6W6-10 by drilling out rivts with #20 bit.
2. Used 6W6-10 as template to establish area to be removed on new part 6ZU3-1.
3. Cut area to be removed on bandsaw, and filed edge.
4. Taped 6ZU3-1 in place, and backdrilled holes, using #20 bit, and clecoing as holes were added.
5. Cut lower and upper stiffners from "L" angle.
6. Established 40mm rivet pitch on angles.
7. Punched, and drilled with #40 drill.
8. Back drilled angles onto 6ZU3-1 with #40 bit, and clecoed.
9 Opened holes connecting angles to 6ZU3-1 with #20 bit, clecoing..
10. Installed 6ZU3-1 with clecoes.
11. Taped lower stiffners, and backdrilled with #40 bit, clecoing as holes were added.
12. Opened holes with #30 bit.
13. Removed, deburred, and primed with zinc chromate.
14. Reinstalled, clecoing.
15. Riveted 6ZU3-1 in place.
16. Installed bellcrank supports and bellcrank.
|
|
Cleco in place
|
|

cleco in place
|
|

install bellcrank
|
|
|
|
|
|
|
|
|
Copyright © 2001-2024 Matronics. All Rights Reserved.
|