
|

|
|
|
Jims Web Site
|
Date: 6-1-2011
|
Number of Hours: 5.30
|
Manual Reference: 6C3
|
Brief Description: Install canopy
|
|
Comes the G R E A T task, actually installing the canopy!
1) Positioned canopy on fuselage very, very carefully.
2) Temporarily installed outside flashing.
3) Used holes in flashing, and holes in front and rear frames, to back drill #40 holes to position canopy.
4) Cut away area around lock, so canopy would fit, and slide in place.
5) Removed flashings and canopy.
6) Mounted pilot side lock in outside flashing.
7) Left pilot side flashing mounted at three points, so canopy could be slipped under it.
8) Opened #40 holes in canopy with plexiglass bit to correct size.
9) Cleaned holes in canopy.
10) Slipped canopy back into position, using center holes on front and rear frame as staypoints.
11) Clecoed canopy front and rear using clecoes and cask washers.
12) Pulled back protective covering along sides, where it would be covered by flashings.
13) Installed slde flashings with clecos.
14) Installed canopy at front and rear, using screws and cask washers.
15) Installed canopy along sides with screws.
VOILA!
|
|
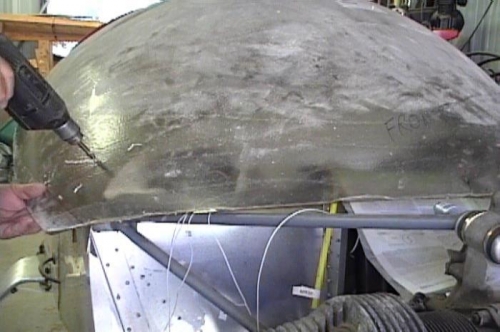
Drill canopy mounting holes
|
|
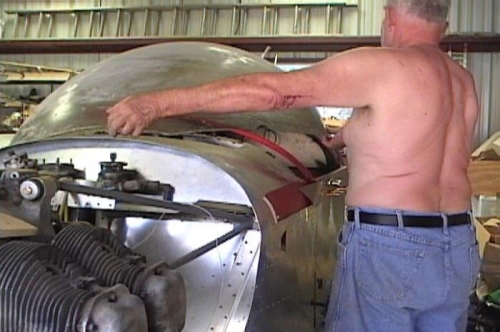
Lower canopy in place
|
|
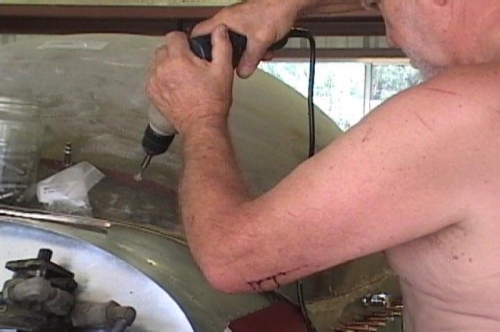
Install mounting screws
|
|
|
|
|
|
|
|
|
Copyright © 2001-2024 Matronics. All Rights Reserved.
|