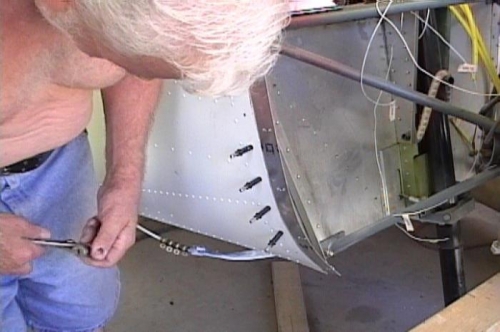
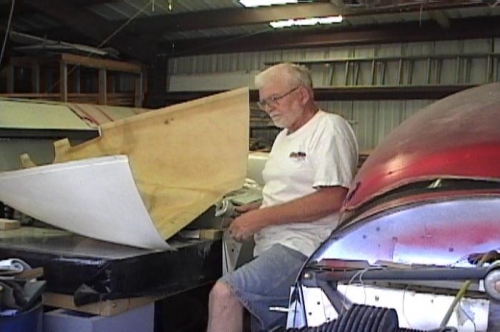
1) Sized lower cowl attachments, and cut to fit. 2) Back drilled #40 holes and clecoed in place. 3) Measured area to be cut on lower cowl and marked. 4) Removed excess with pneumatic cut off wheel. 5) Sanded edge smooth. 6) Positioned lower cowling under aircraft and clamped in place. 7) Determined mounting hole locations. 8) Drilled mounting holes with #40 bit, and clecoed in place. 9) Opened all mounting holes with #20 bit 10) Removed cowling, shims, and lower cowl attachments. 11) Deburred metal and primed both sides of shims. 12) Installed MS21075L3 nut places on lower cowl attachments with A3 rivets. 13) Reinstalled shims and lower cowl attachments with clecos. 14) Riveted shims and lower cowl attachments in place with A5 rivets.