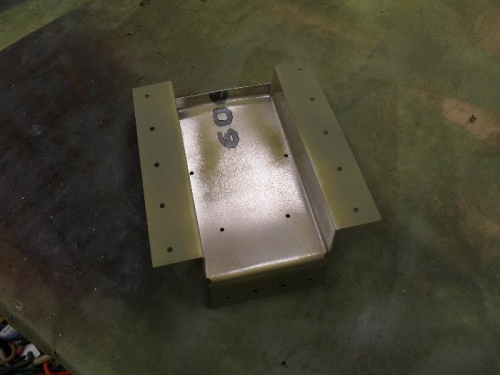
I decided to install the ELT on a shelf, which would allow more ready access and replacement at a future date.
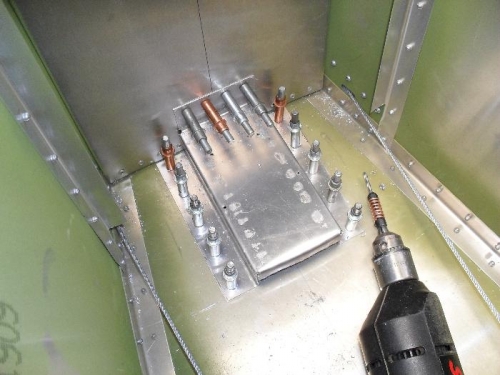
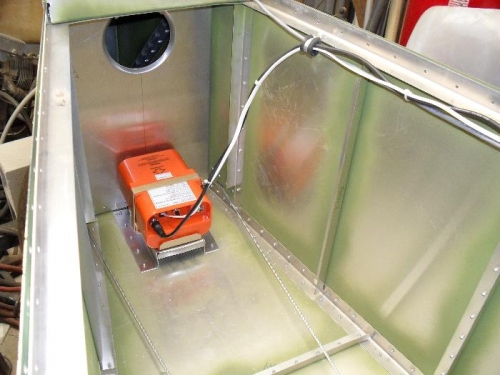
1. Modified previously made shelf sketch to match what could be done on available sheet metal brake. 2. Laid out plan on .040 6061-T6. 3. Cut out rectangular area to match mount dimensions. 4. Drilled corner stress relief holes. 5. Cut out corners. 6. Filed to fit. 7. Bent major angles on brake. 8. Bent remaining angles with seamer. 9. Established rivet lines, center punched, and drilled pilot holes with #40 bit. 10. Positioned shelf in aircraft. 11. Back drilled pilot holes and clecoed with #40 bit. 12. Opened holes with #30 bit for A5 rivets, and clecoed. 13. Removed shelf. 14. Deburred holes. 15. Cleaned and primed part mating surfaces with zinc chromate primer. 16. Reinstalled part, and clecoed. 17. Riveted with A4 rivets. 18. Positioned ELT. 19. Connected antenna cable and control cable. 20. Installed adel clamp to route to side of aircraft, avoiding control cables. 21. Installed additional adel clamp to route roward, beyond next bulkhead. 22. Installed snap ties to cluster wiring bundles. 23. Routed antenna cable across face of bulkhead. 24. Installed adel clamp near top of bulkhead to retain cable.
Additoinal routing and antenna installation will be installed later.