Brief Description: Wings - Right Wing final finishes
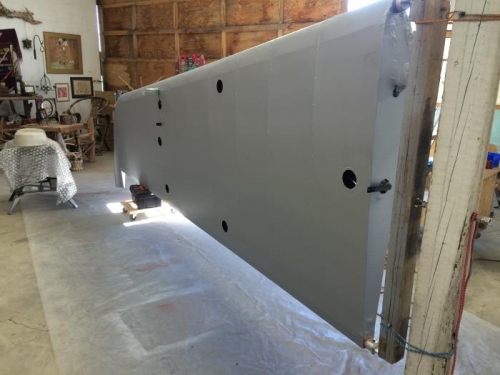
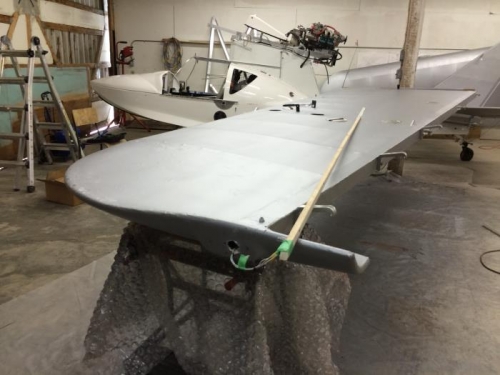
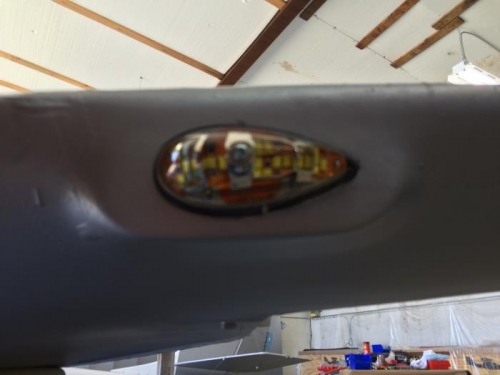
Having applied two of the necessary three cross-coats of Poly-Spray to the Right Wing I decided to move on to the 'Final Finishes' while the wing is still in the rotary jig and easy to access and work on. I used my electric soldering iron with a cutting tip to open up the six inspection holes on the underside of the wing plus the Flap Horn and two Strut Plate slots. According to the manual now is when you install the internal Aileron Torque Tube Horn. Anticipating that this would be difficult to do at this stage (through two inspection holes) I had installed it before putting the fabric on... and was very glad I did. Two Eyebolts are installed through the bottom side fabric at this point and are relatively easy to do so using two other inspection holes. However, I was out of both 1/8" Plastic Washers (again!) and 1" Saddles and had to place another order to PA to make up parts that really should have been in the orginal kit supply. Installing the two Strut Plates using inspection holes went well as did installing the Hinges for the Flap and the Hinge Arms for the Frise Aileron. The toughest part of these two days` work was getting the wiring out to the wing tip. I was quite worried about piercing the fabric with the feeding rod or having something break off and remain behind inside the wing. Eventually I got the wires threaded through and attached a three-pin Molex connector for the AVEO nav and strobe light.