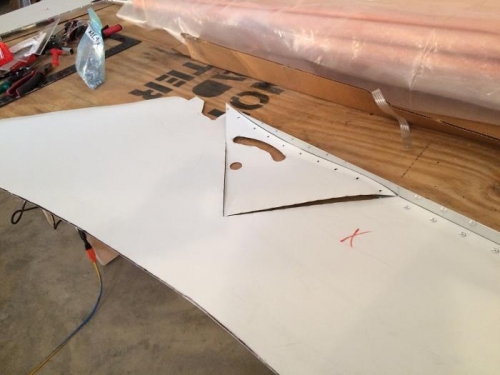
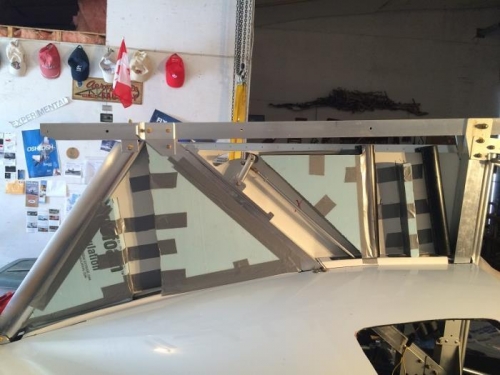
Carrying on for another 3 sessions I got to the point where I felt I was finally starting to understand what I was building and why. Up until now it was mostly a mystery. The conduits (2nd photo) as best as I can tell still to this day are not actually 'conduiting' anything. They just block in the forward opening in the Turtle Deck spine that will allow the fuel hoses and electrical wiring to carry up through the Pylon to the Engine. The hoses and wires in turn are separated by a strip of foam as shown in the third photo. Both new and old manual led me (ha, ha not my fault) to rivet the top angle onto the co-pilot side skin far too early. Resist the tempation, use clamps until you absolutely have to drill, cleco and eventually rivet. You can thank me later. And don't cut the angle pieces to length until you figure out how you are going to fasten them to the aluminum structure of the Engine Pylon both fore and aft and on both pilot and co-pilot side. You can thank me again later. For the filler foam I used 1" thick Styrofoam doubled up to 2" forward of the channel for the Air Heater hoses and just one layer thick aft of that because the Skins taper in. For the conduits I used ABS 1-1/2" ID pipe which fit nicely between the two skins, matching the Pylon square tubing and the two layers of foam. Good old duct tape (what would hold Canada together otherwise) held the foam in place until the co-pilot side skin was installed.