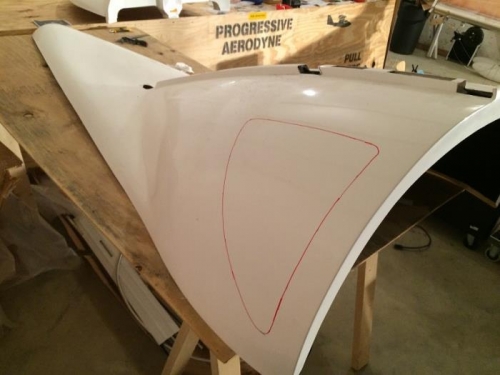
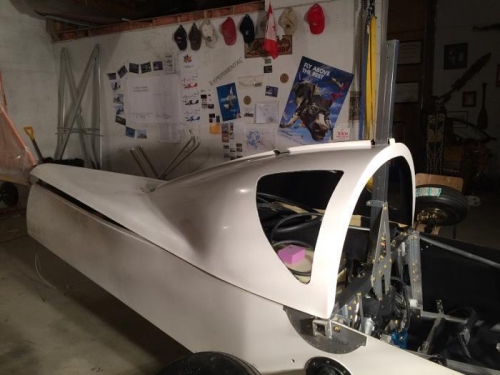
Turtle is the correct adjective to use in regards to closing in the aft portion of the hull... slow & steady. Up to now I have been very careful to ensure that everything that is possible to complete inside what is essentially going to be an inaccessbile area has been done before I install the Turtle Deck. The work described here took place in four sessions over two months. For instructions throughout the installation of the Turtle Deck I used both the old manual Sections 13 & 20 and the new manual Chapter 13. Where ever possible I tried to follow the new, but referred to the old when I needed precise dimensions (i.e. I didn't have the templates called for in the new). So in the first photo I cut-out the spine per the dimensions given very precisely in the new manual but for laying out the two window openings I used the method of the old. I found cutting the notch at the after end of the Hull lip and then applying heat and a bending tool to 'roll' it in to be absolutely required to get the Turtle Deck to mate properly over the Hull lip. After that is was pretty straight forward to get the joints to match up, drill, cleco and eventually rivet it all together. The co-pilot side fit like a glove (if it don't fit you gotta acquit) but on the pilot side I had to use a Dremel with a cut-off blade to trim the Turtle Deck lip about 1/8" for the middle 4' in length to settle in nicely (plus put in a few more rivets). The last 1' of the aft end of the seam on the pilot side never did match up perfectly, but perfection is for sissies anyway.