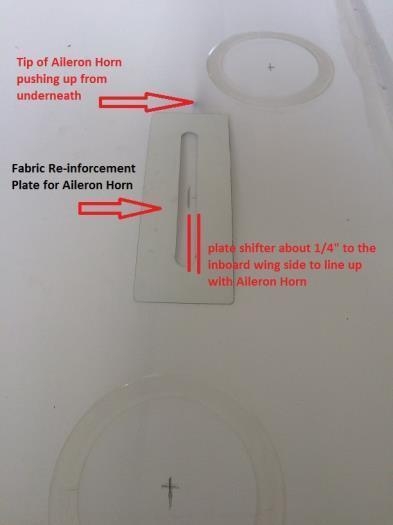
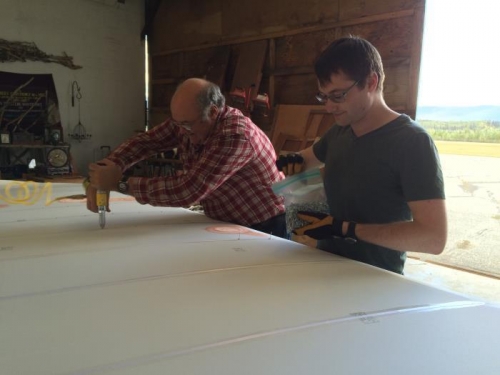
Day 2 of wing covering and the bottom of the right wing was done to the point where it could be flipped over. First we brushed the cemented on Wing Tip fabric with M.E.K. to get it to release, pulled it back, scuffed the surface with sand paper and then slowly re-cemented. We went 2" at a time, using the iron at 250F to pull the fabric towards the curve of the end, a plastic blade to push out wrinkles and bubbles and being patient. It worked out really well (hint to Bob: read the Poly-Fibre manual before, not after, you screw up a task). In step 7.1 you lay out the Wing Inspection Covers. This requires mounting the Aileron Horn (#2710-001) temporarily onto the Aileron Torque Tube to get the exact placement of the Fabric Re-inforcement Plate. The drawing in page 10 of 24 calls for 102-3/4" from the inboard wing edge but I found that 102-1/2" lined up better (see second photo below). In step 9.3 you lay out 2" round doilies where the Wing Jury Strut Eyebolts will come through. We shifted them from the manual dimensions a bit to match the bolt holes in the frame tubes below, which presumably is where these eyebolts will actually be. Check back later. Then it was on to riveting the fabric down to the ribs. Locating the holes below the fabric was a little dicey but no mistakes were made thankfully. I used a sharp pointed awl instead of a hot tool and Kevin had the thankless job of pushing the rivets through the fabric and into the rib holes so that Steve could do the fun job of 'nailing' the rivet.