
|

|
|
|
Bob Leffler's RV-10
|
Date: 3-26-2011
|
Number of Hours: 3.00
|
Manual Reference: 47-6, 41-7
|
Brief Description: More Cowl work
|
|
47-6, Steps 5 & 6
Brad assisted me again today.
Using the reference line, mark a line along the aft sides of the bottom cowl three inches forward that corresponds to to the forward edge of the F-l069-L and -R Fwd Fuse Side Skins. Remove the boltom cowl. Cut away the remaining excess material along the side aft edges of the bottom cowl. We did most of this yesterday, but had to go through a copy more trimming interations today to get things right.
When laying out holes that attach hinges to the top and bottom cowl s, offset the holes 5/16 from the outside edge and the ends of the hinge unless otherwise specified. Layout the holes with approximate one inch spacing. Periodically check and clean out any debris between the hinges and the cowl while drilling!
Lay out then drill #27 the inboard most hole common to the F-1001Q-L and -R Cowl Attach Hinges and the boltom cowl. Since I'm not installing the bottom hinges, I didn't perform this step. I did drill and clecoed five #40 holes to be the future site for screws and nutplates.
Evenly space, drill #40, then cleco the four remaining rivet holes in the cowl attach hinge. Layout, drill #40, then cleco the holes common to the F-1001N Cowl Attach Hinges and the top cowl. Start at the inboard end and work outboard.
Layout, drill #40, then cleco the holes common to the F-1001P Cowl Attach Hinges and the bottom cowl. Start at the bottom and work upwards. I completed the left side and will do the right side during my next session.
41-7, Step 1
Fabricate Cowl Attach Shims from .020 thick 2024-T3 Aluminum for the two bottom plates that replacing the bottom cowl hinges. Locate and match drill a #40 hole in each shim.
|
|
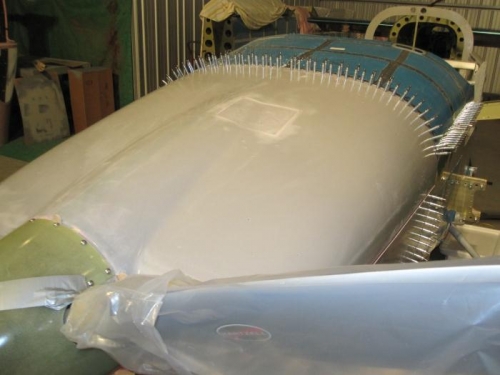
Top Cowl Rivet line drilled and clecoed
|
|
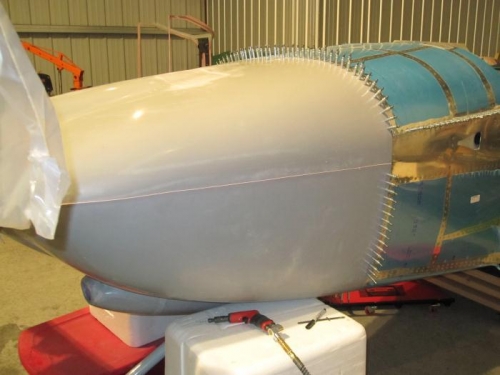
Left side of bottom cowl rivet line drilled and clecoed
|
|
|
|
|
|
|
|
|
Copyright © 2001-2024 Matronics. All Rights Reserved.
|