
|

|
|
|
RV-10 Project - N786PS
|
Date: 8-20-2007
|
Number of Hours: 2.50
|
Manual Reference: 6-3
|
Brief Description: Match Drilled VS Skin and Debur
|
|
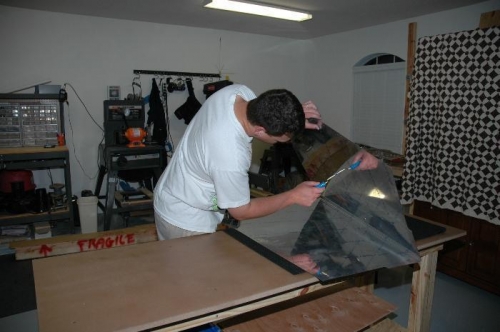
Tonight, I continued working on the Vertical Stabilizer. The first step was to drill #40's through the holes that were common between the skin and the skeleton. That was fairly easy; the only tough part was squeezing so many clecos in such a short time. I think I'm going to paint the plane spinach green, because I'm going to have arms like Popeye when I'm done.
After drilling, I removed the skin and started deburring. I deburred the holes (inside and out) on the skin. They feel pretty good now.
There were some stamp marks on the edges of the skin, so I went ahead and deburred the edges too. I pulled a mill file the entire length of the edges, followed by a burnishing tool, followed by the scotchbrite wheel. That did the job of taking the jagged edges away and created a nice edge. (I didn't invent to process, I got a tip at the last Houston RV builders gathering.)
Tomorrow it'll be more of the same. I've got to debur the skeleton holes that I drilled today. If that goes fairly quickly, I might get a chance to dimple a few holes on some scrap aluminum.
By the way, I made a decision on primer & alodine today. I picked up quite a bit at a local NAPA dealer & DuPont distributor.
I will be doing the following in this order:
DuPont 225-S cleaner to prep the Aluminum.
DuPont 226-S Alodine to corrosion proof the metal.
DuPont 615-S with DuPont 616-S 2-part epoxy primer.
The combination of using Alodine and Primer is considered overkill. That's just the way I like it.
|
|
Debur, Debur, Debur. I'm glad I'm planning to go with quickbuild wings and fuselage.
|
|
|
|
|
|
|
|
|
Copyright © 2001-2025 Matronics. All Rights Reserved.
|