Brief Description: Debur Skeleton and Begin Dimpling Skins
I got my steps out of order a bit. I went ahead and disassembled the entire skeleton and debured all of it. So those components are ready to be dimpled when I get there.
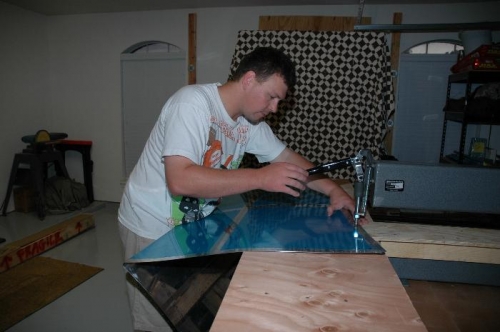
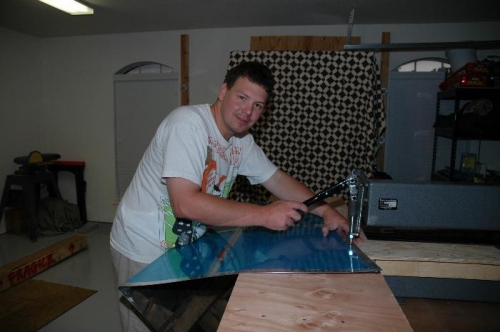
I did get started dimpling the Vertical Stablizer skin. I was pretty nervous about it, but with the DRDT-2 it's really a no brainer. Just get a scrap piece of aluminum and dimple a couple of test holes to get your depth correct. Once you get it, you can go to town.
I was really sweating the process of getting the correct depth on the dimples, but I got it on the 2nd try. It's REALLY easy and nothing to get worked up over.
There was one hole that I couldn't reach with the DRDT-2, so I had to break out the pop-rivet dimple die set. That one I sweated a little, but after I tested it on the scrap I realize there was nothing to it. It was simple too. Just close it down until you feel some back pressure, that was the perfect place to stop.
All in all, it was a good day. I picked up a few new skills, used some new tools, and realized that dimpling isn't anything to get concerned over.