Brief Description: Disassembled, deburred, primed & riveted the eleva
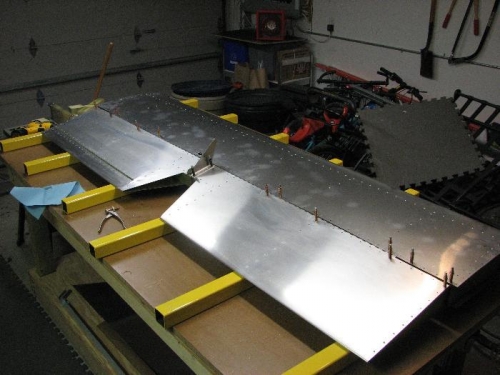
Disassembled, deburred and primed the elevator and trim tab. Upon re-assembly, a great deal of thought had to be given to what order components were riveted (especially in the control horn area) to allow for the elevator to be opened and inspected as required in Canada prior to final riveting. The bottom skin was conpletely riveted to the skeleton, and the top skin was rivetted to within 4 rivet holes of the spar. The control horn cluster was riveted completely on the back-side and internally, but no on the top surface to allow for inspection. The trim tab was riveted in place.
The hinges were all drilled with 1/16" holes on each end to allow for safety wiring that will be installed later.
I put the stab, elevator and trim tab assembly together to make sure everything fit (which it did thank god) and put it into storage until it is needed again.
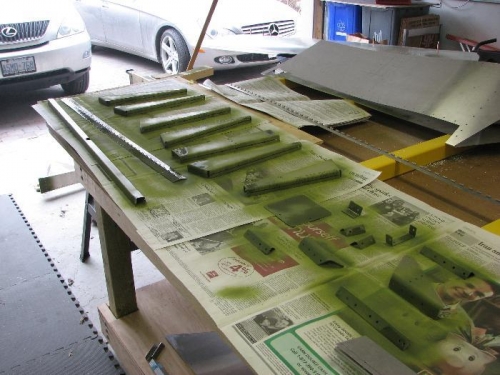
Elevator and trim tab parts deburred and primed
Elevator riveted completely on the bottom and 2/3rds on the front (for pre-close inspection)