
|

|
|
|
Tom's Rans S-19 Builders Log
|
Date: 3-27-2011
|
Number of Hours: 10.00
|
Manual Reference:
|
Brief Description: Tailcone side and aft bulkhead assembly (2 of 2)
|
|
Completed assembly of tailcone side skins, aft bulkhead and fitting of top skins as follows:
1. Riveted the side skin assemblies to the bottom skin. Assembled bolts to the tail tiedown assembly.
2. Prepped and primed the tailcone longerons, closeout bulkhead, and bulkheads 2-4
3. The bulkheads, closeout skin and other parts were cleco'd together and riveted.
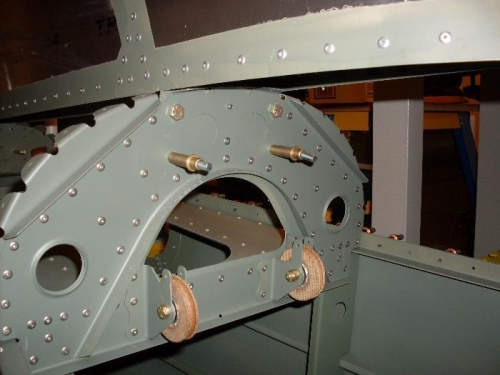
4. Once the bottom section of the tailcone was riveted together, the vertical stabilizer was refitted and checked for level. Everything checked OK, so the holes were drilled / reamed to final size. A drill snag nearly wrenched the angle drill from my hands and made an oblong hole in the LH upper forward bolt position. Fortunately, there is plenty of material here so going to a #4 bolt was not an issue. Enlarging the hole was uneventful. Enlarging the RH upper forward hole to 3/16" went well also. This hole was also enlarged to 1/4" to maintain symmetry.
5. The #5 bulkhead (aft) and VS wer match drilled as well. The lower set of holes in the VS are transfer-drilled from the inside of the bulkhead using the angle drill. Once that is done, enlarging the holes in steps is no problem. The rudder hinges were drilled at the same time. The VS was removed and set aside.
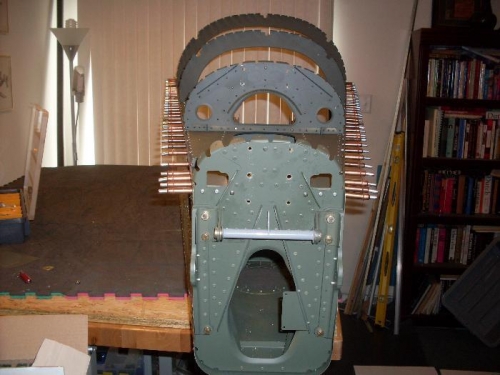
6. The lower holes on the skins had already been enlarged to #30 with the longerons, the bulkhead station holes were also drilled out prior to mounting. The bulkheads themselves were drilled out during the previous prep for lower tailcone assembly. Beginning with the LH skin, starting at the top, the skin was cleco'd to the bulkheads, then to the longerons.
7. Before the RH skin was attached, a slight angle needed to be formed on the top edge where it laps the LH skin. I used a flanging tool for this operation.
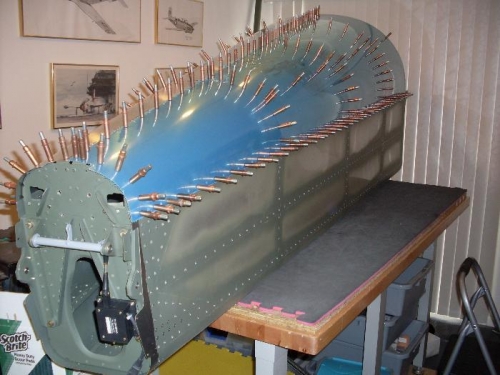
8. The RH skin was attached with cleco's, along with the stiffeners for both skins. It was easy to slide those in from the front once the skins were in place.
9. The top skins and stiffeners were removed and set aside. The tailcone "boat" was moved to storage.
|
|
|
|
|
|
|
|
|
|
|
|
|
|
|
Copyright © 2001-2024 Matronics. All Rights Reserved.
|