Prepared wing frame for final assembly as follows:
1. Deburred all holes and touched up wing frame primer.
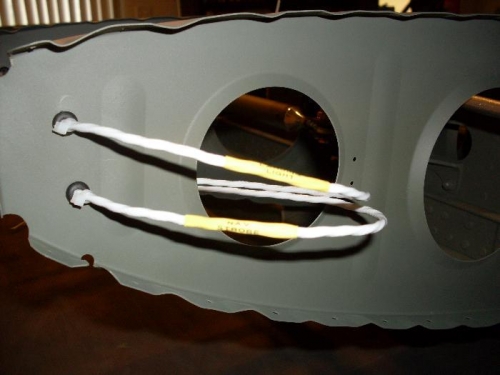
2. Fitted rubber grommets in all holes where wiring is to pass.
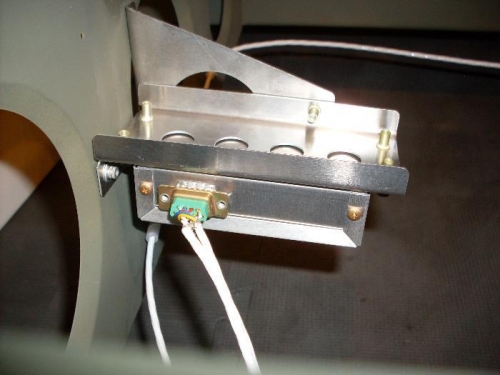
3. Installed connectors on outboard end of all wing wires. All but the remote compass were molex connectors with gold pins. The remote compass used a 9-pin DSUB with mil spec gold pins. A 9-pin DSUB backshell is on order to complete this connector. Started a "wire list" with color codes and pin assignments on an Excel spreadsheet. This will help years from now when something goes wrong.
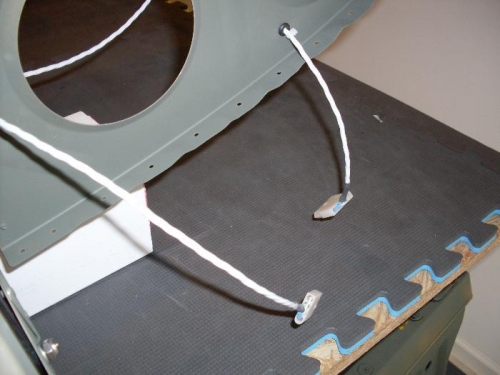
4. Threaded wires through the assigned grommets and tied in place with nylon ties. Installed nylon cable clamps with aluminum rivets and used spiral wrap around wires to protect them from abrasion. Labeled wires emerging from wing root with heat shrink tubing labels.
5. Installed the Dynon remote compass using the SafeAir mounting kit and aluminum harware. Applied thread sealant to all machine screws. Connected the OAT probe.
6. Made up a custom aluminum fuel line similar to the factory line, except with a longer free end. This line will be cut to length and a tubing bead formed after the tank is installed. I plan to use all aluminum lines in the airframe (firewall aft) except for a small rubber line joining the wing to the fuselage. Temporarily tied the line in place until tank installation.
7. Installed the long aileron push rod and adjusted per Rans instructions. The two shorter rods will be installed later.