
|

|
|
|
N2C...CruZer
|
Date: 12-31-2016
|
Number of Hours: 1.50
|
Manual Reference:
|
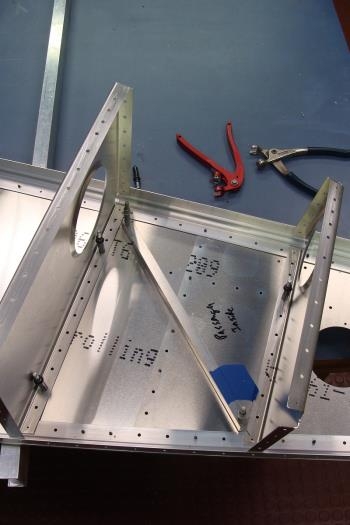
Brief Description: Pasenger side skin L angles
|
|
First, since the pilot side will be a mirrror image of the passsenger side it makes sense to cut the L angles to length both sides at the same time...its a time saver.
I came up with a better method of drilling the initial holes in the angles. Rather than mark a line on the underside and search for it while crouching below, lining up and then drilling, I now do it from the top and save my fingers!!
Cut the L to length and make a mark on the extrusion or the side skin along the rivet line. Lay the angle on the skin and making sure you have it centered by lining up with your marks, make another mark on the L angle where the first hole will be, then remove the angle and drill it, then cleco it into place. On the other end, line up the middle of the angle with the mark you made on the extrusion and then secure it with a piece of tape. Keeping your hand with pressure on the top just look below and find the hole and drill...voila, no crouching underneath and searching for lines through tiny holes. Additionally, I then used a strap duplicator (hole finder) to drill the middle of each L angle. This will make the L angle much more stable when you flip over to drill the rest of the holes.
Got all the angles in place, ready to flip and drill the next tme.
HAPPY NEW YEAR!!
|
|
|
|
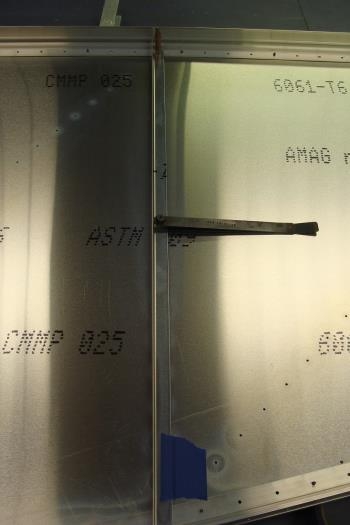
Tape and Hole Finder make things easy.
|
|
|
|
|
|
|
|
|
|
|
Copyright © 2001-2024 Matronics. All Rights Reserved.
|