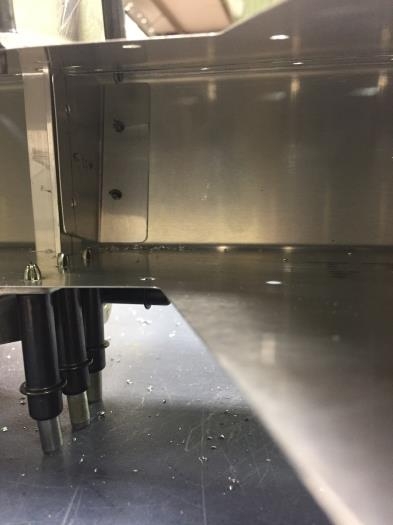
I screwed up the piece that goes inside the elevator and gets riveted to the extrusion that travels through the elevator (I trimmed the bottom not the top)...anyway it turned out to make for an easier installation with the piece I fabricated. The one that comes with the kit is 50MM by 70 MM (total length) and the first one I made was that size and I clamped inside the elevator to the extrusion so I could back drill the two holes on the front of the elevator. Anyway I got one hole drilled but the other didn't turn out so good so I decided to make another part. Its hard to place the original part, being 50MM wide and get it in the proper position and make sure you have proper edge distance from the front rivet holes. So I made a part that was 70MM square and made the bend in my bending brake, this size allows the bottom of the part to rest on the bottom of the elevator and takes the guess work out of it, its also more stable to drill...pic makes it self explanatory.
I also riveted in place the L angle that the Ray Allen servo shares two holes with. I ended up adding a doubler (same thickness as the L angle, .025) and slipped it under rib #2 so that the servo would be level and not slightly canted to one side. Probably immaterial, but I like level.
Last, I removed all the parts, deburred what was left to be deburred, scuffed up and primed mating surfaces with Cortec.