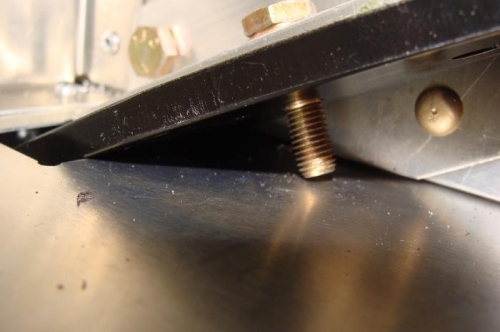
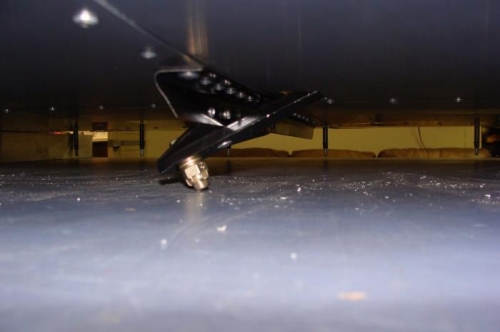
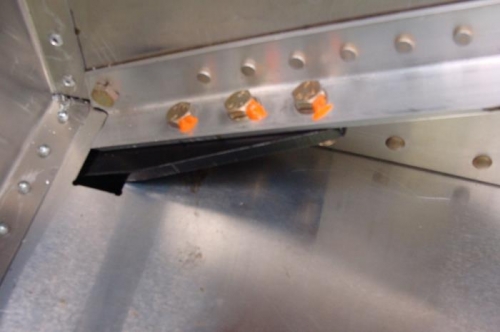
Wow did this turn out to be a pain in the ass. Had everything drilled up nicely...AN6 hole in the brackets and the rivet hole in the thicker 1/4" piece in the right place...in other words far enough back so there would be no interference from the strut clevis when it attaches...get that clevis out and center it over the AN6 hole prior to drilling for the rivet and make sure the hole is in the right place. The strut bracket is not easy to attach with the bottom skins riveted but I think you're better off riveting the skins and putting the AN6 bolt through the brackets prior to riveting those together. I did all mine separately and the AN6 bolt holes ended up being slightly off from each other...slight movement during riveting...so would recommend putting the bolt in the brackets, rivet the two pieces together and then the whole shebang along with the skins...do it all together. I ended up having to drill out the two angles, put the AN6 bolt in, then re-rivet everything together. The lowest AN4 bolt on the strut bracket should be an AN4-6, not a -7, otherwise the tip will hit the skin. Got everything in and torqued the nuts to 70 inch pounds. Then applied torque seal...I apply the torque seal to every bolt when it is finalized, that way I'm sure I did it.