
|

|
|
|
Mike & Aneta's RV Projects
|
Date: 2-9-2013
|
Number of Hours: 4.00
|
Manual Reference: R Aux Tank
|
Brief Description: Layout and Assembly of Right Aux Tank
|
|
Today, I continued with the layout on the right aux tank. This will mark my third iteration of the layout lines, but I think I finally got the right spacing to allow no clashes with existing holes and still allow room for everything like access panels and such. After I finished layout, I started to assemble everything. First I installed all the normal outboard leading edge ribs, just like I was building it per the plans. This way, the structure would be squarely built in my cradle before I started match-drilling in the tank ribs. Once all the "normal ribs" were match-drilled in place, I began installing the tank ribs. I drilled the first two holes based on my layout line intersections, then I clecoed the ribs in place using those first two (aft-most holes). Once the rib was in, I alligned it so I could see my lines through the holes, indicating the rib was straight. Then I used my 90 degree angle drill to match-drill the tank rib holes from the inside, out through the skin.
|
|
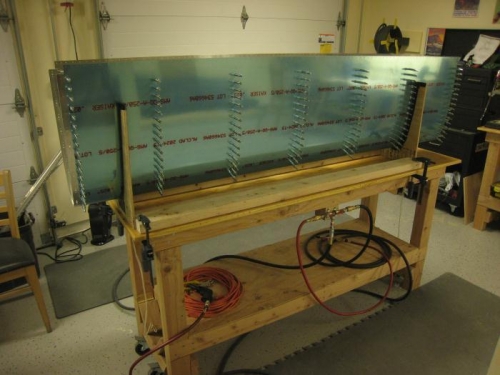
Right Aux Tank with "normal ribs" in place.
|
|
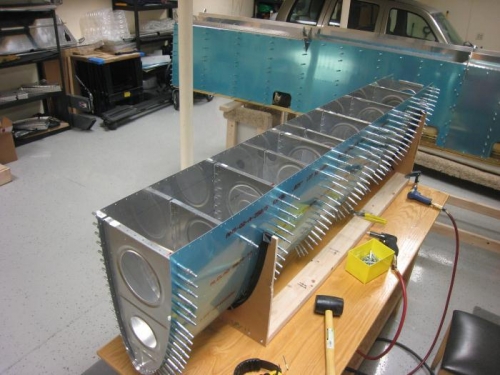
Right Aux Tank with Tank Ribs in place.
|
|
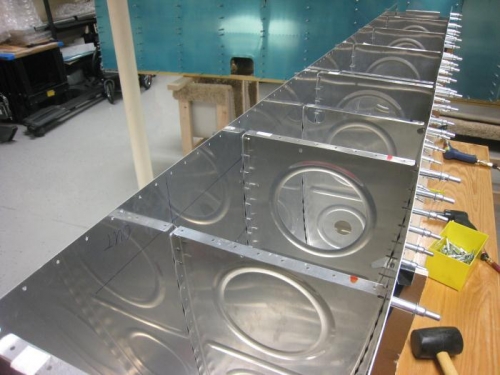
Close-up showing tank ribs "on-line" with layout.
|
|
|
|
|
|
|
|
|
Copyright © 2001-2024 Matronics. All Rights Reserved.
|