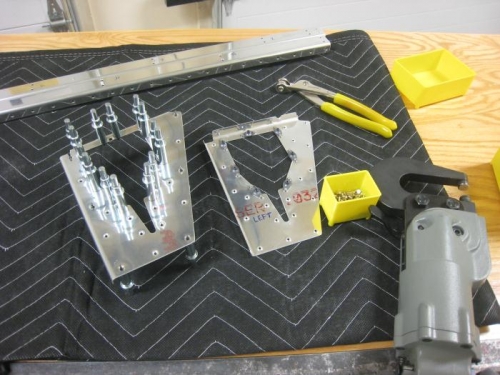
Today was very productive. I love it when you actually get to start final riveting things together. All your hard work to fabicate, assemble, drill, disassemble, debur, dimple, clean and reassemble finally get you to the payoff of seeing actual plane parts come together for the last time. Very satisfying. I began by riveting the doubler plates onto the front spars, then worked on the trim reinforcement plates. The nutplates require that a smaller dimple die be used in order to dimple them without crushing the nutplates edges. Luckily I saw this coming and ordered the special dies ahead of time from Cleaveland. Once the nuplates are on, the plates get riveted to the skins and then the ribs start to go on. Nice!
Riveting the nutplates on the trim reinforcement plates.
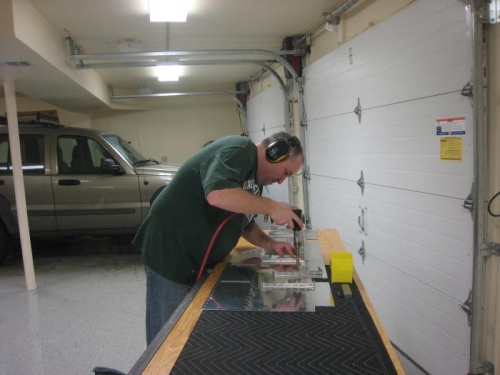
Back-riveted reinforcement plate on the skin. Nice and smooth!
Me, starting to back-rivet the ribs on to the skins.