
|

|
|
|
Mike & Aneta's RV Projects
|
Date: 12-3-2011
|
Number of Hours: 6.00
|
Manual Reference: E Section 9(7)
|
Brief Description: Deburring and Drilling Steel Angle
|
|
Today I spent quite a bit of time deburring all of the parts of the elevators. It's deceiving, because the elevators are fairly small in size, but have a lot of parts. The skins, of which there are four, have a whole lot of holes too. It felt pretty good to finish all of the deburring. One thing that really helped a lot was a deburring bit that I ordered from Cleavland tools. It goes into an electric screwdriver and fits multiple sizes of holes, which leads to quick and easy hole deburring.
The other thing I did was to prepare some steel angle iron for use with the trailing edges of the elevators. This is the same technique I used when doing the rudder. In fact, I used the same piece of steel angle (just used the other side!). Basically, you clamp a very straight piece of steel angle to an equally straight work table. Then you use the holes in the AEX wedges, which were match-drilled to the skins, to drill holes in the angle. When it comes time to pro-seal the AEX wedge in place at the trailing edges, you'll have a way to cleco it together while the Proseal sets up. I found this procedure to be much easier than the one described by Vans using lead shot bags and a two-by-four.
|
|
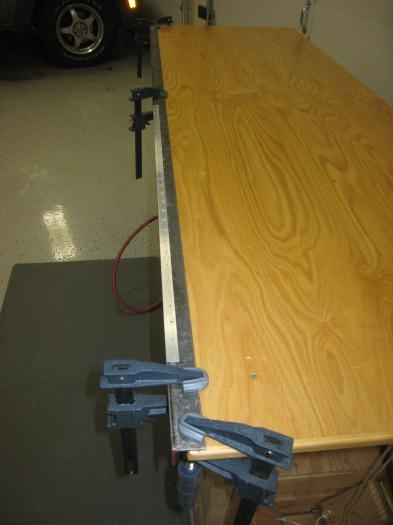
Clamping the angle to the table.
|
|
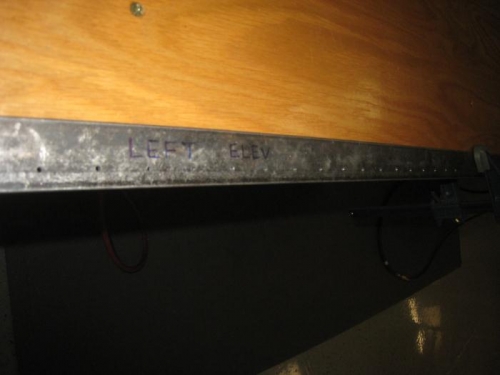
Marking the angle so I don't confuse the holes between left and right elevators.
|
|
|
|
|
|
|
|
|
Copyright © 2001-2024 Matronics. All Rights Reserved.
|